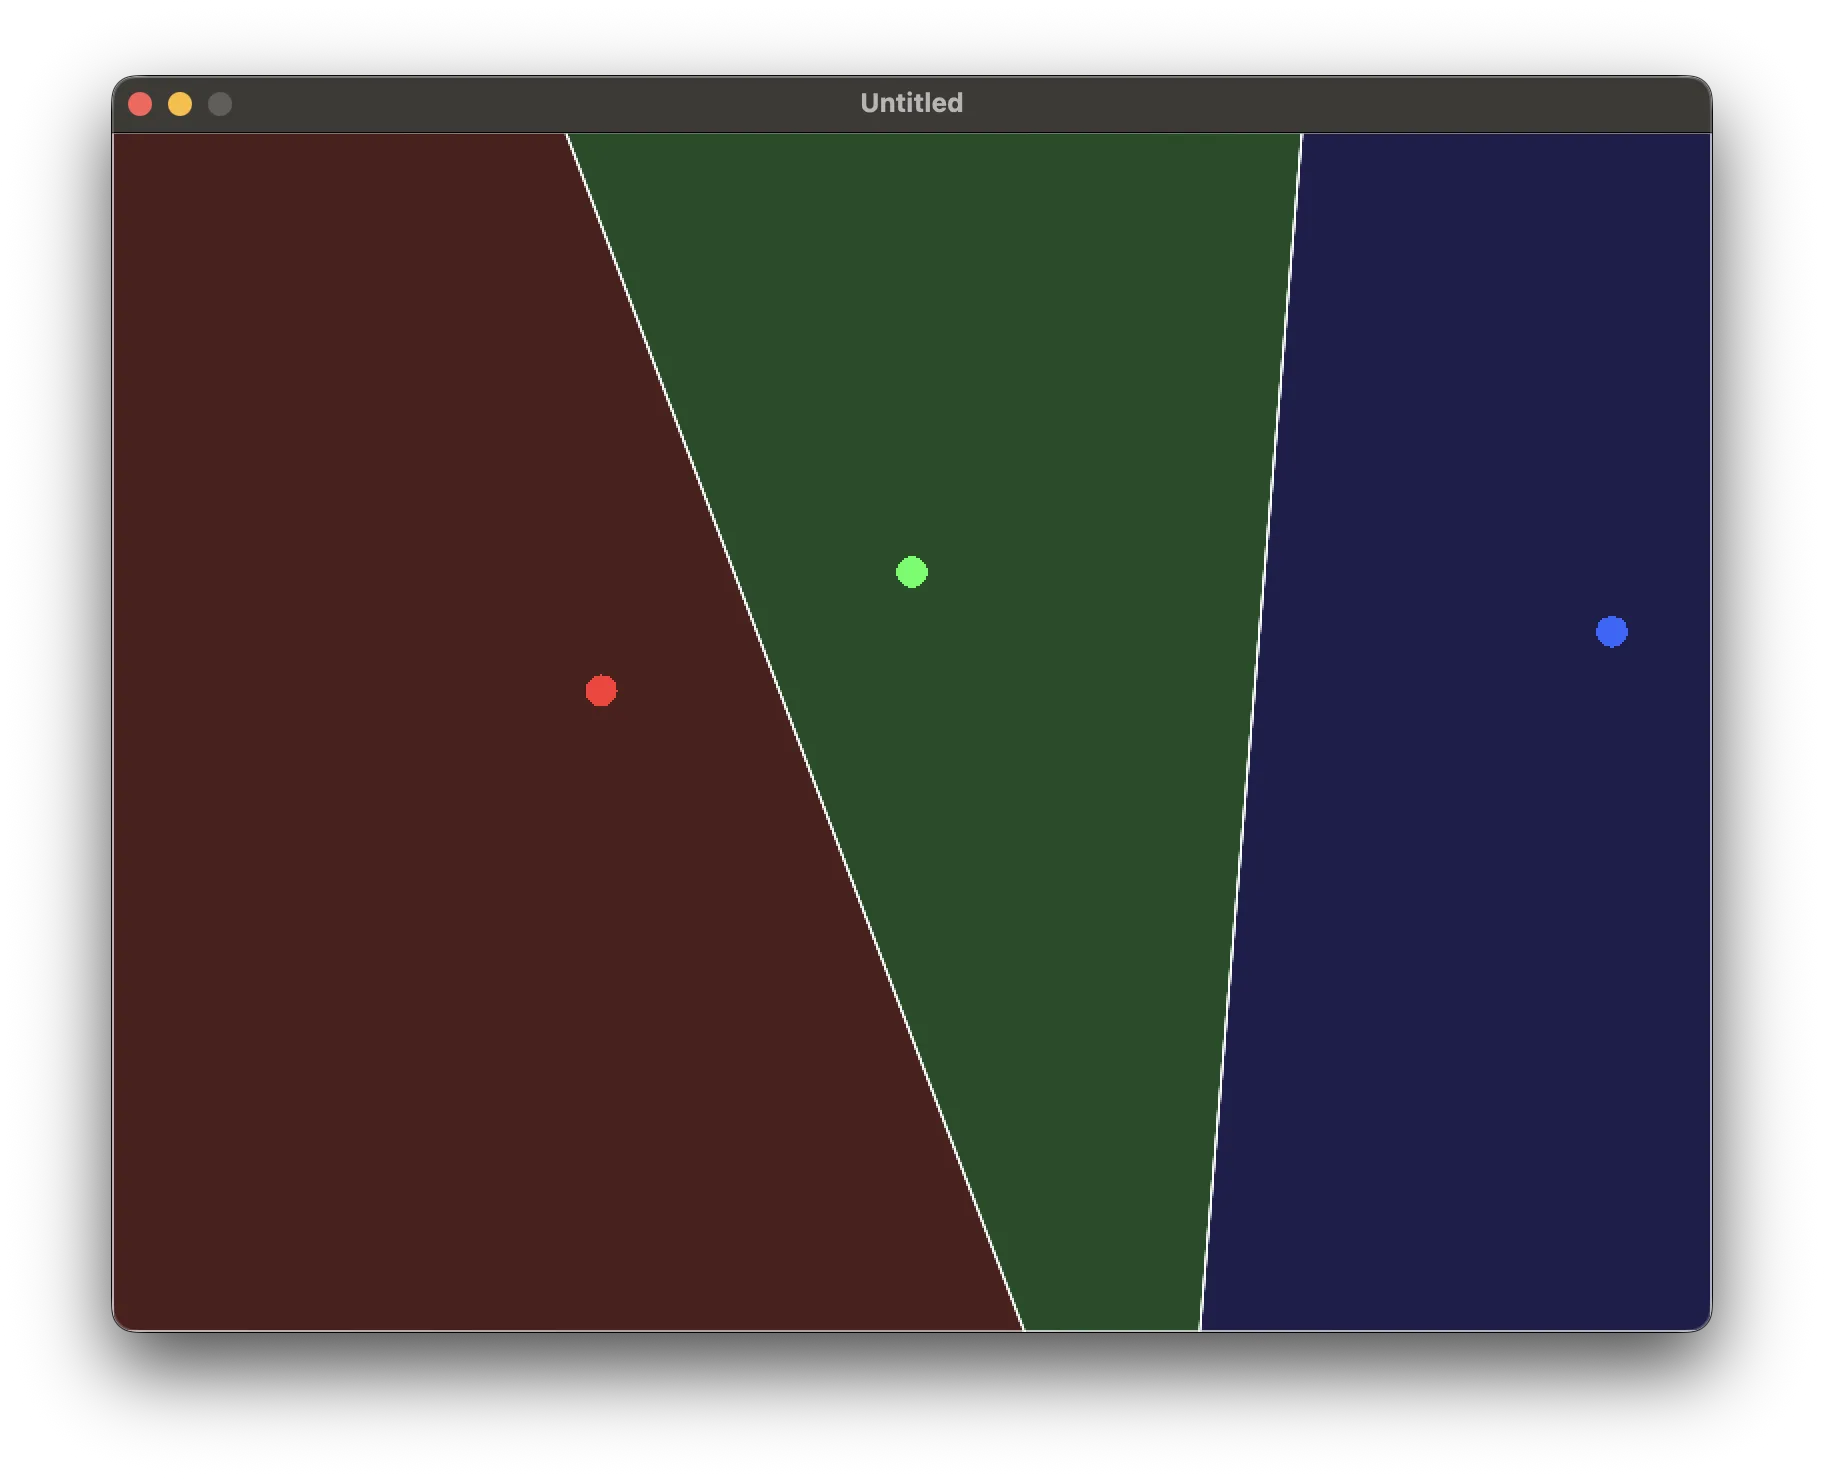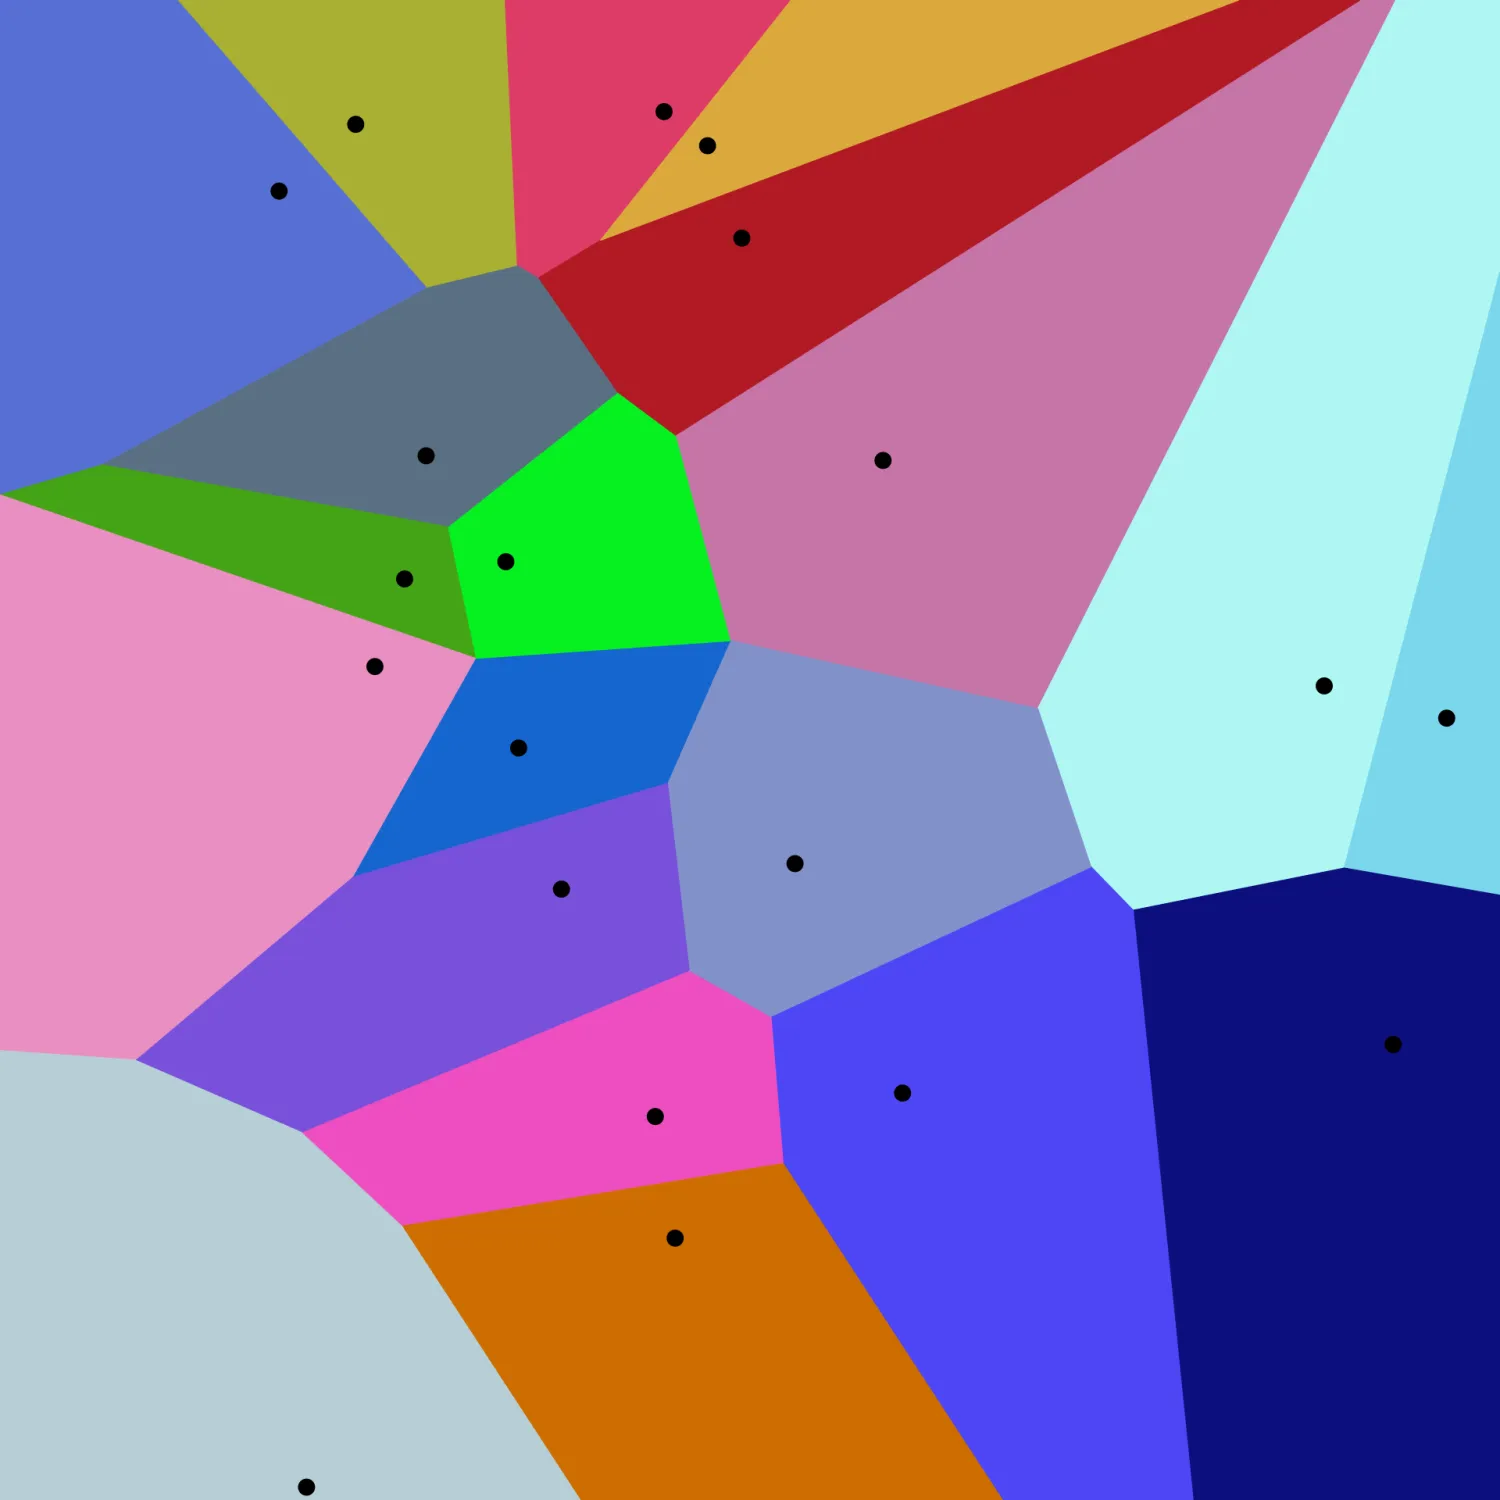
The other day i was doom scrolling (against my will) through instagram like the millennial i am when i came across this reel:


It’s a quick video about a Voronoi diagrams and one of it’s real world applications. You’ve probably have heard about voronoi diagrams, but in case you need help remembering, here’s the wikipedia definition:
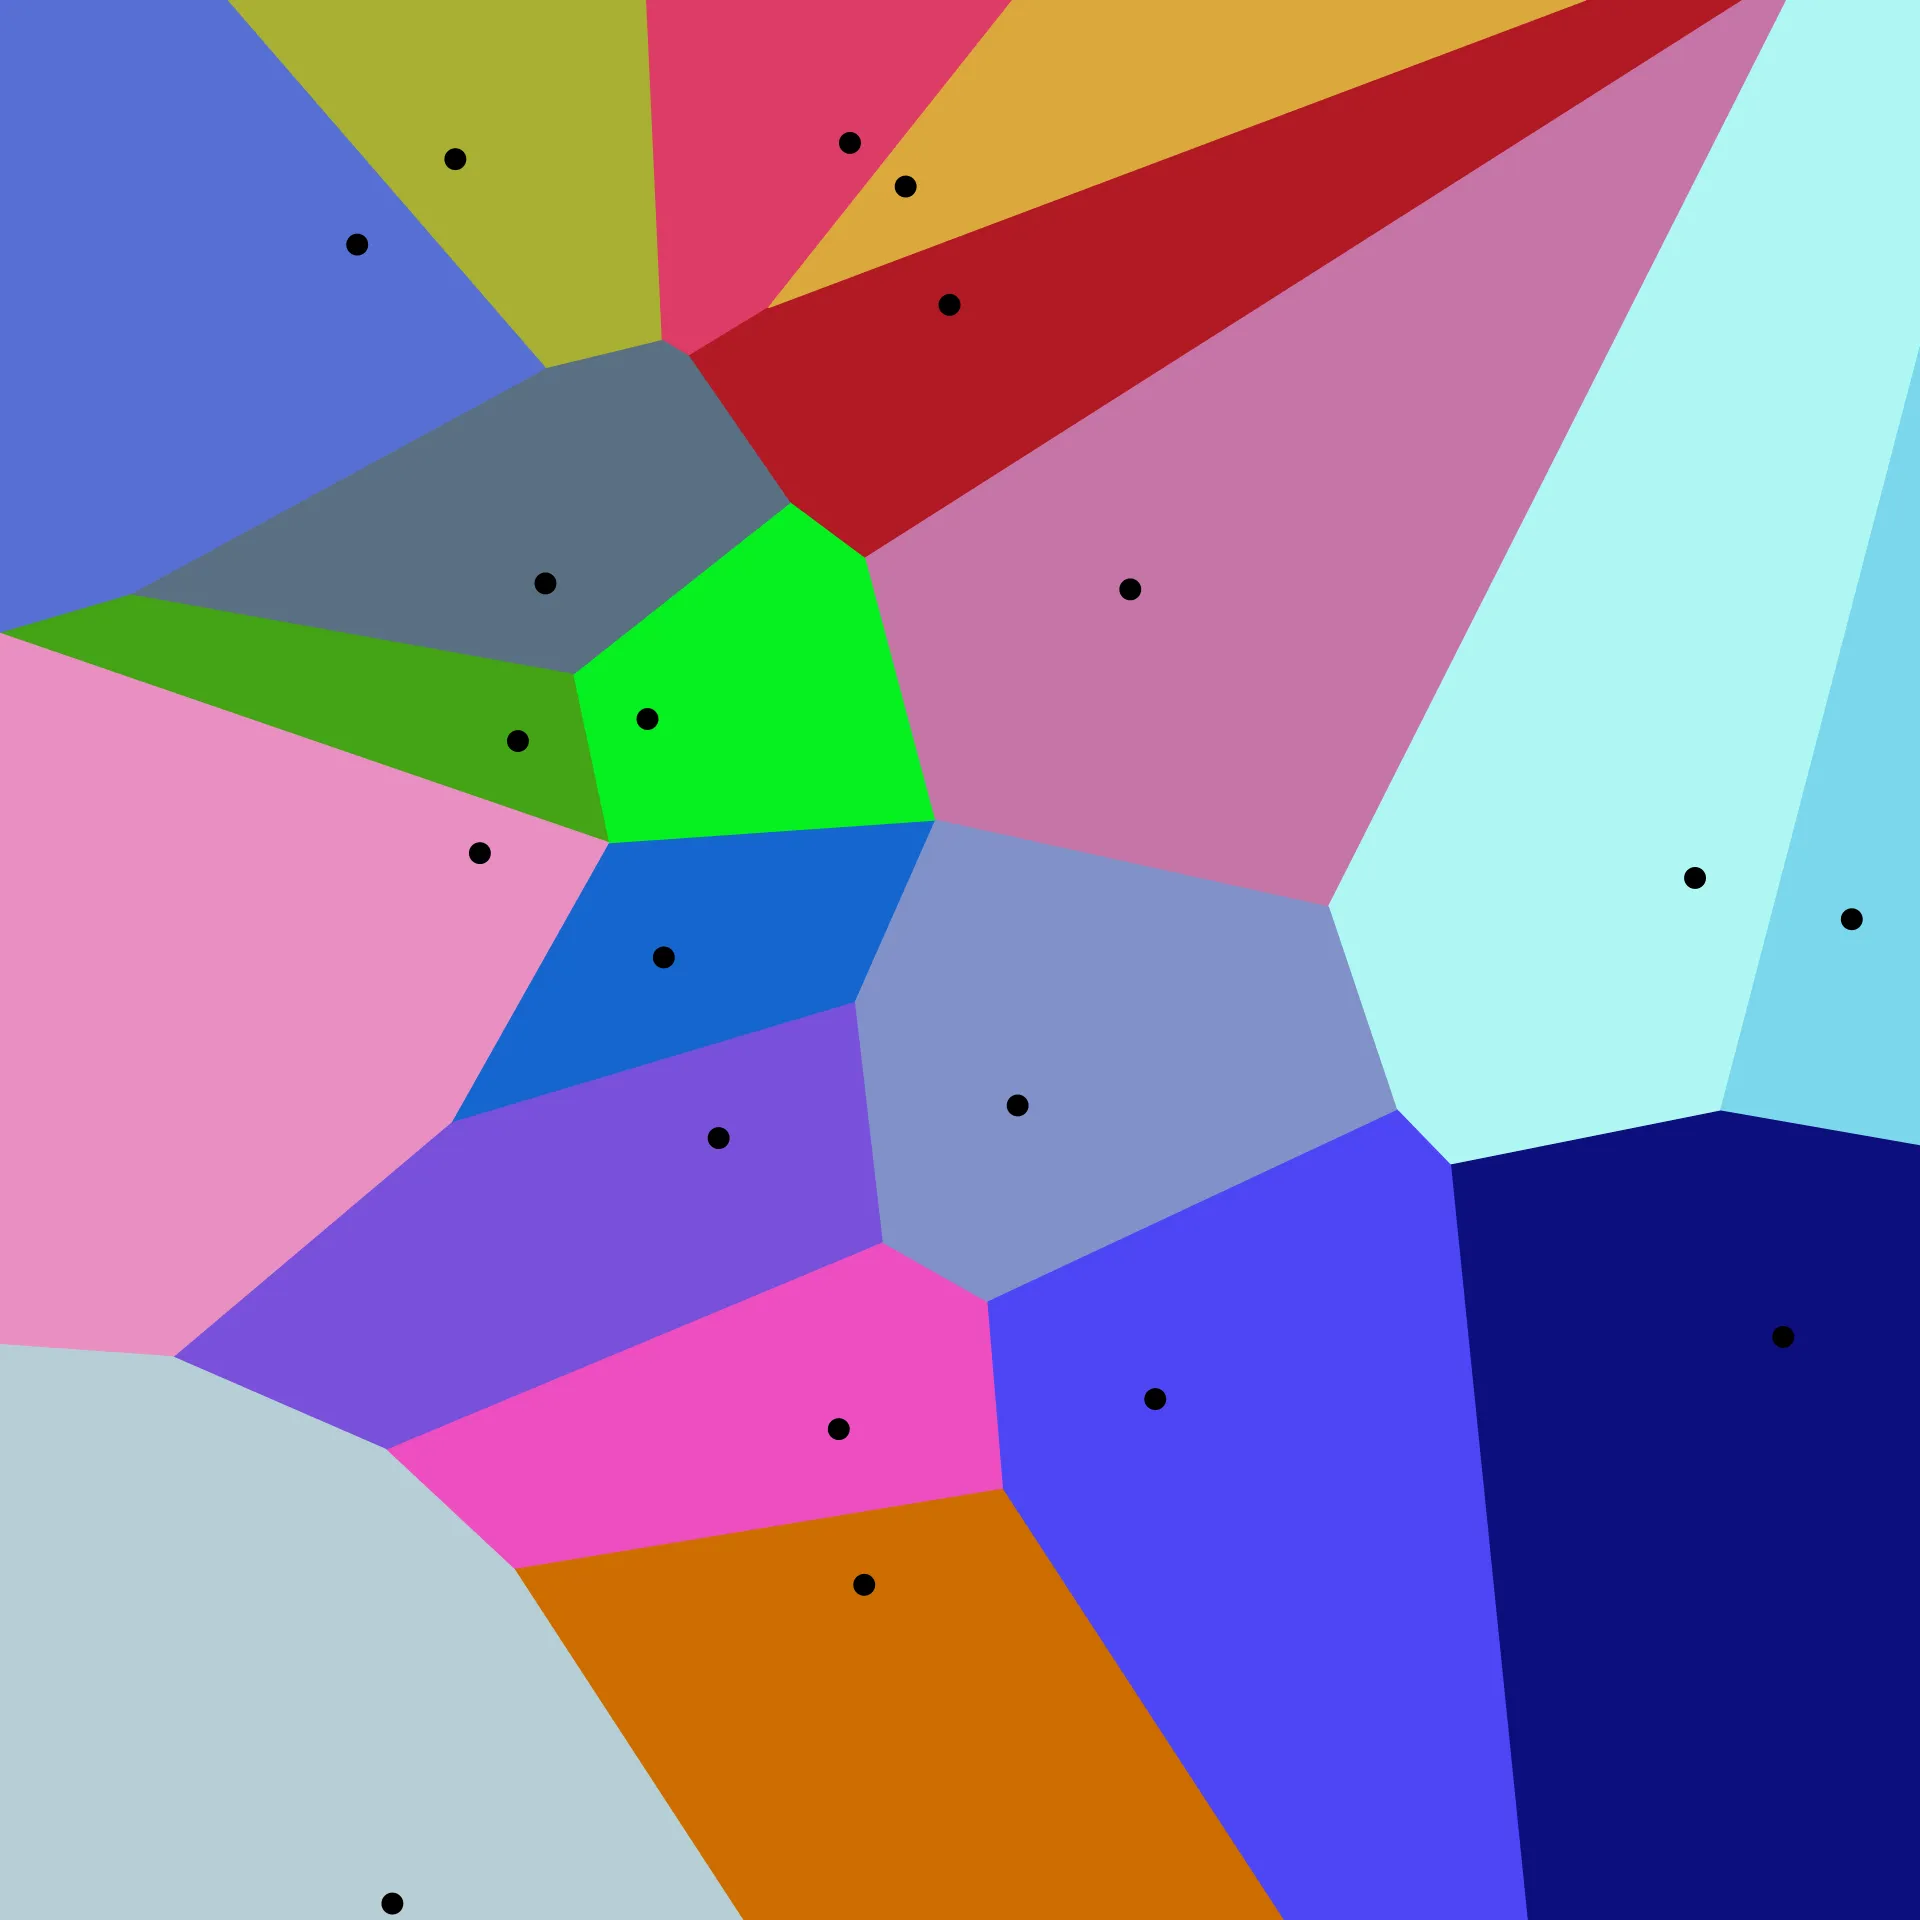
Each black site owns the colored region closest to it.
[...] given a finite set of points {p₁, … pₙ} in the Euclidean plane. In this case, each point pₖ has a corresponding cell Rₖ consisting of the points in the Euclidean plane for which pₖ is the nearest site: the distance to pₖ is less than or equal to the minimum distance to any other site pⱼ.
Which instantly made me thing about dynamic split screens. There are many tutorials online, and different ways of achieving this, but i just wanted to go with the basic approach.
First things first, in games “split screen” refers to the technique of dividing the screen into multiple viewports so each local player can have an independent camera, there are many ways of doing this but the most basic ones are: Vertical Split and Horizontal Split.
Vertical Split / vertical divider / left-right views

+---------------+---------------+
|               |               |
|   player 1    |    player 2   |
|               |               |
|               |               |
+---------------+---------------+
Horizontal Split / horizontal divider / top-bottom views
+-------------------------------+
| player 1 |
| |
+-------------------------------+
| player 2 |
+-------------------------------+These type of splits, on their simplest implementation can be defined as:
- select player 1’s rectangle;
- draw the entire world through player 1’s camera;
- select player 2’s rectangle;
- draw the same world through player 2’s camera;
- clear the scissor and draw the dividing line.
local function drawViewport(player, x, y, width, height, backgroundColor)
	-- Anything outside this rectangular viewport is discarded.
	love.graphics.setScissor(x, y, width, height)

	if backgroundColor then
		love.graphics.setColor(
			backgroundColor[1],
			backgroundColor[2],
			backgroundColor[3],
			backgroundColor[4] or 1
		)
		love.graphics.rectangle("fill", x, y, width, height)
		love.graphics.setColor(1, 1, 1, 1)
	end

	love.graphics.push()

	-- Move the viewport center to the origin, then move the world in the
	-- opposite direction of the camera. The tracked player becomes centered.
	love.graphics.translate(x + width / 2, y + height / 2)
	love.graphics.translate(-player.x, -player.y)

	drawWorld()

	love.graphics.pop()
	love.graphics.setScissor()
end1 function love.draw()
2 local width, height = love.graphics.getDimensions()
3 local leftWidth = math.floor(width / 2)
4
5 drawViewport(players[1], 0, 0, leftWidth, height, { 0.12, 0.04, 0.04 })
6 drawViewport(players[2], leftWidth, 0, width - leftWidth, height, { 0.04, 0.06, 0.12 })
7
8 love.graphics.setColor(1, 1, 1)
9 love.graphics.setLineWidth(3)
10 love.graphics.line(leftWidth, 0, leftWidth, height)
11 love.graphics.setLineWidth(1)
12 end
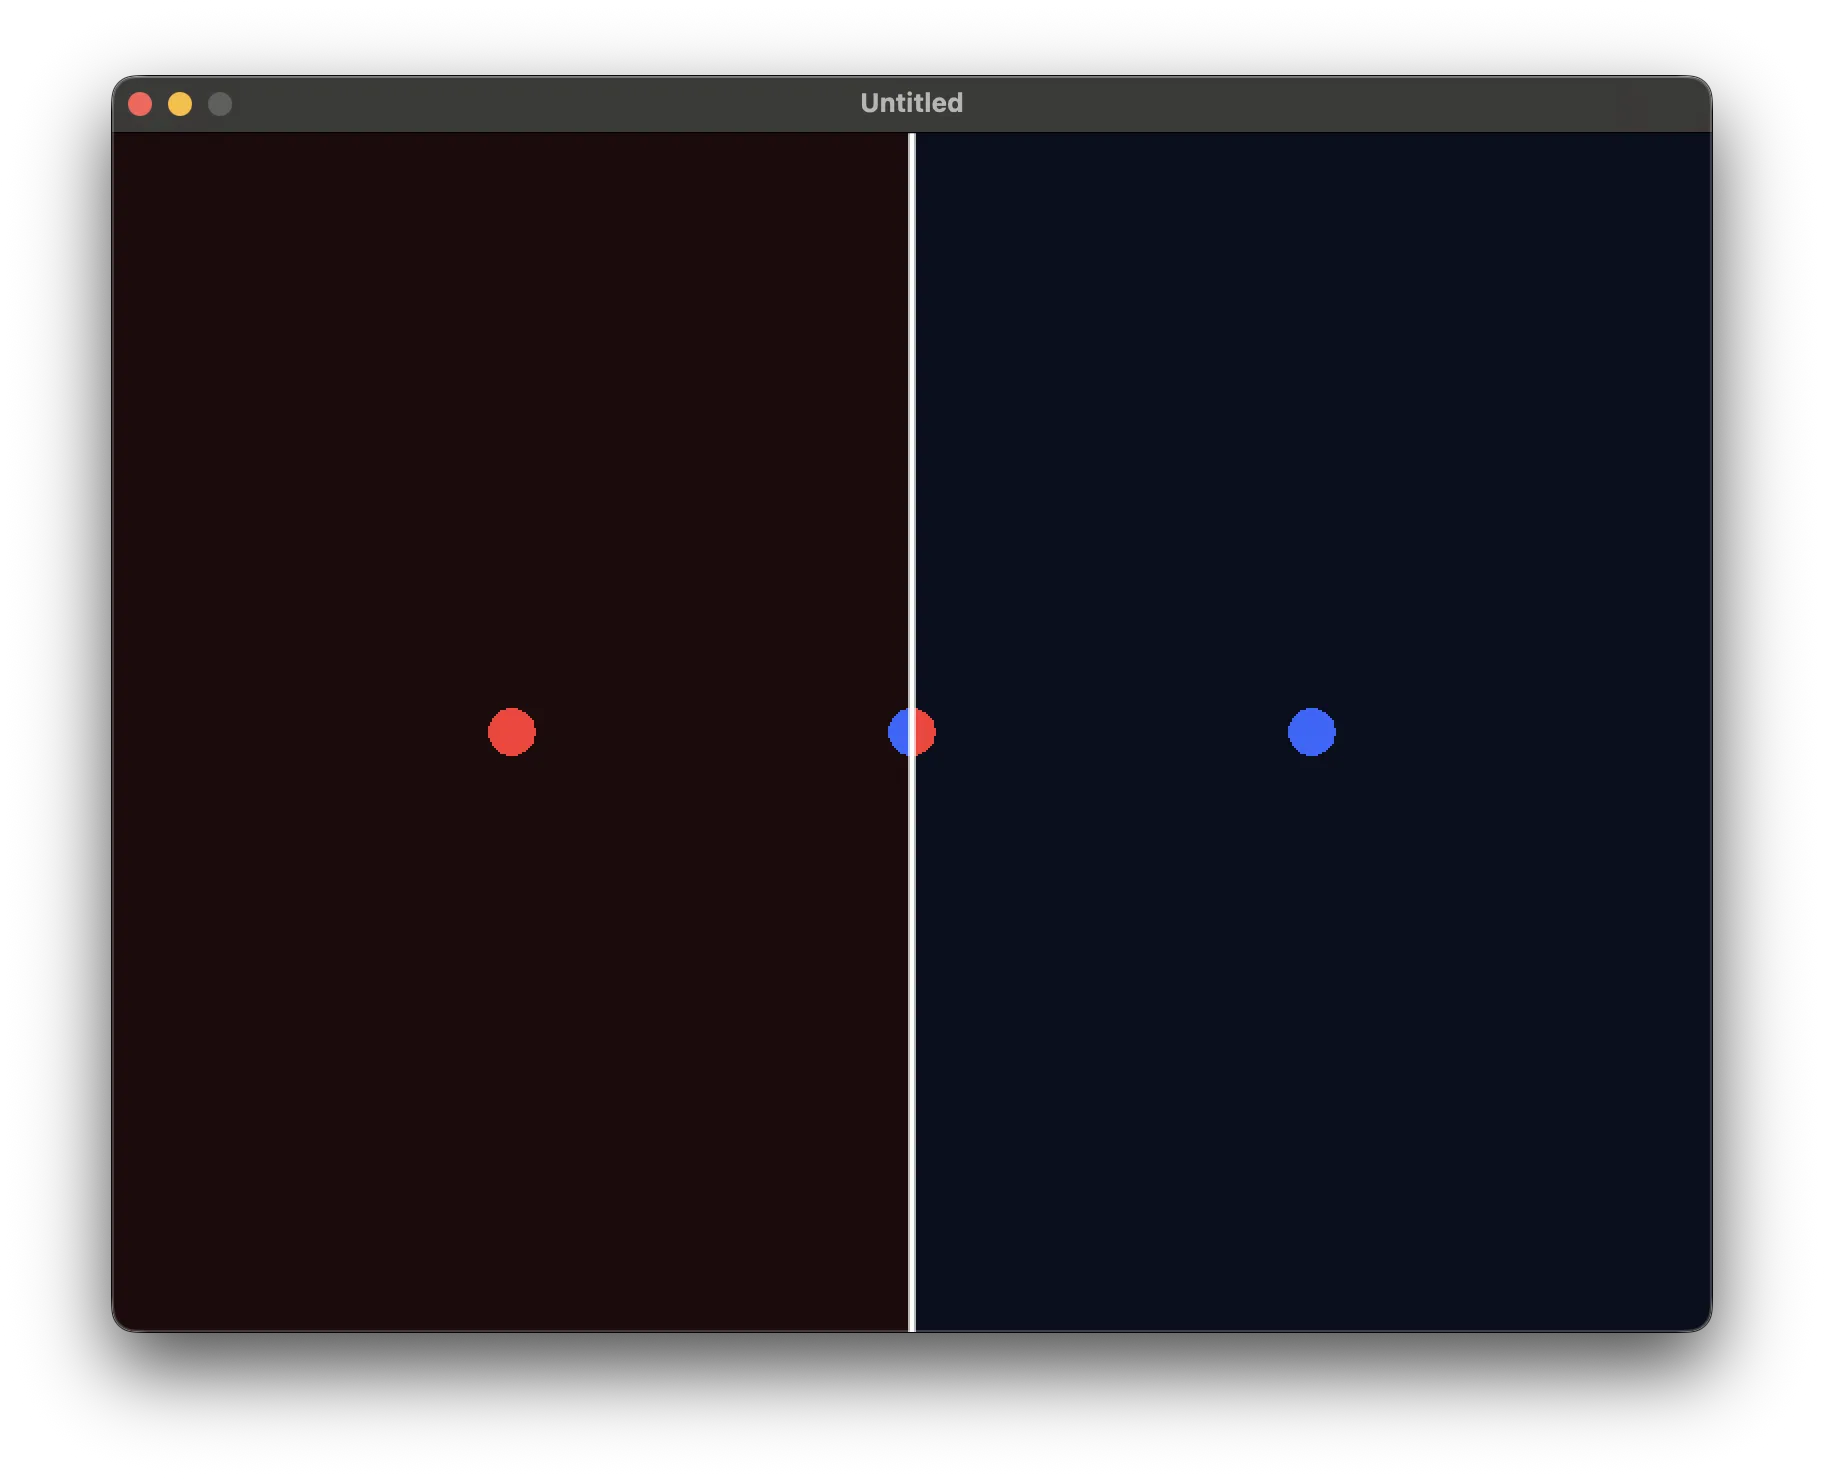
This is already useful and shippable! But it has some limitations that a niche set of games might want to splore.
- current definition can only be strictly vertical or horizontal
- the screen is still divided even when both players are in the same place.
- What would happen if there are more than 2 players?
Let’s explore a possible solution for the first:
Perpendicular bisector
The perpendicular bisector of a line segment is a line which meets the segment at its midpoint perpendicularly.
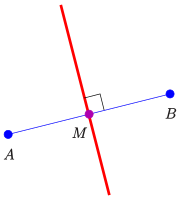
By Ag2gaeh - Own work, CC BY-SA 4.0, Link
Basically if you have a point A and a point B, the line that divides these two points is the perpendicular bisector, which fives the impression that this concept can be used for a dynamic camera. Giving player A and player B, let’s divide the screen in their perpendicular bisection.
 1  local function perpendicularBisector(a, b)
 2  	-- Midpoint
 3  	local mx = (a.x + b.x) / 2
 4  	local my = (a.y + b.y) / 2
 5
 6  	-- Direction from A to B
 7  	local dx = b.x - a.x
 8  	local dy = b.y - a.y
 9
10  	-- Rotate 90 degrees
11  	local px = -dy
12  	local py = dx
13
14  	-- normalize dx, dy if you want length to represent an actual pixel distance:
15
16  	local len = math.sqrt(px * px + py * py)
17
18  	if len < 0.000001 then
19  		return nil
20  	end
21
22  	px = px / len
23  	py = py / len
24
25  	return {
26  		x = mx,
27  		y = my,
28  		dx = px,
29  		dy = py,
30  	}
31  end
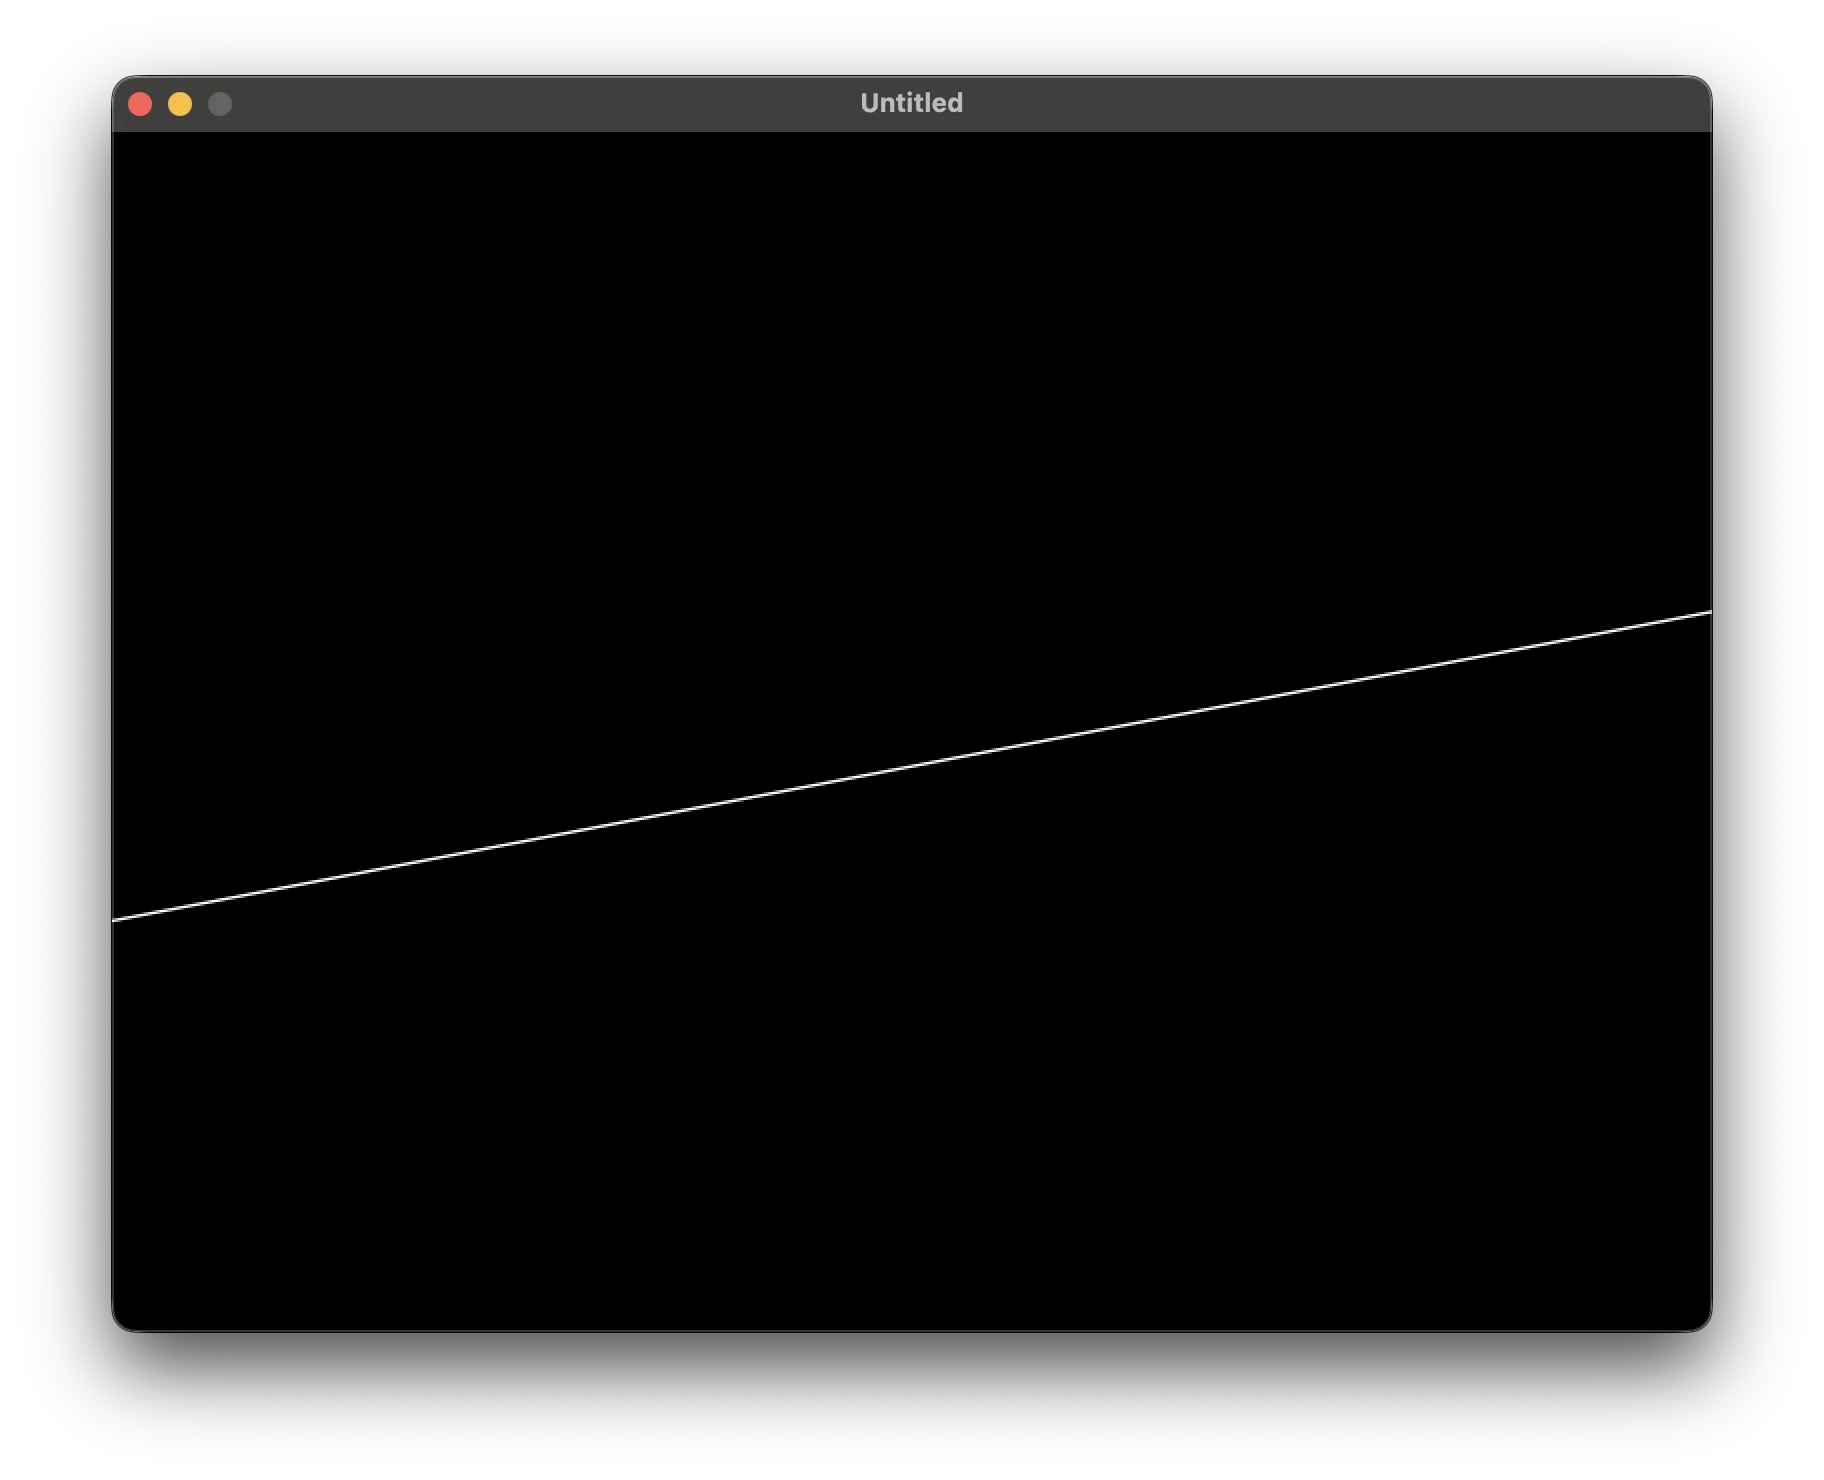
There we go! We are halfway… welp… kind of. This is still just a line and while it divides the screen, it does not create polygonal viewports. love.graphics.setScissor is not enough here because it only clips rectangles.
We first need to calculate the two polygons created by the perpendicular bisector. Once calculated, those polygons can be used as stencil masks. And this is where the concept of a Voronoi diagram comes in.
The math
Determine which side a point belongs to
We need the part of the screen closer to than to :
local function dist2(p, q)
	local dx = p.x - q.x
	local dy = p.y - q.y

	return dx * dx + dy * dy
end
local function inside(p)
return dist2(p, a) <= dist2(p, b)
endSegment-bisector intersection
is a half-plane containing all the points closer to a. Clipping the screen rectangle by it gives ‘s region:
Reversing the sites gives ‘s region:
But that’s way too fancy, in simple terms, we need a way to find the intersection of our Perpendicular line and our viewports (planes).
There is a formula for this:
and it’s code implementation:
local function intersection(p1, p2, a, b)
local nx = b.x - a.x
local ny = b.y - a.y
local c =
(b.x * b.x + b.y * b.y - a.x * a.x - a.y * a.y)
/ 2
local dx = p2.x - p1.x
local dy = p2.y - p1.y
local denominator = nx * dx + ny * dy
if math.abs(denominator) < 0.000001 then
return nil
end
local t = (c - nx * p1.x - ny * p1.y) / denominator
return {
x = p1.x + dx * t,
y = p1.y + dy * t,
}
endThe denominator is zero when the segment and bisector are parallel. The implementation returns nil when its absolute value is below an epsilon.
Convex polygon clipping
With the segment-bisector intersection in place, we can clip the entire viewport polygon. We’ll walk around its edges and keep only the portions inside . Whenever an edge crosses the bisector, we insert the intersection point so the remaining vertices form a new closed polygon.
local function clip(polygon, a, b)
local result = {}
local function inside(p)
	return dist2(p, a) <= dist2(p, b)
end
for i = 1, #polygon do
local current = polygon[i]
local nextPoint = polygon[(i % #polygon) + 1]
local currentInside = inside(current)
local nextInside = inside(nextPoint)
if currentInside and nextInside then
-- IN → IN
table.insert(result, nextPoint)
elseif currentInside and not nextInside then
-- IN → OUT
local hit = intersection(current, nextPoint, a, b)
if hit then
table.insert(result, hit)
end
elseif not currentInside and nextInside then
-- OUT → IN
local hit = intersection(current, nextPoint, a, b)
if hit then
table.insert(result, hit)
end
table.insert(result, nextPoint)
-- OUT → OUT adds nothing.
end
end
return result
endIt’s a implementation of Sutherland-Hodgman algorithm. It takes a polygon and cuts away the part outside a boundary. Or as Wikipedia says:
It works by extending each line of the convex clip polygon in turn and selecting only vertices from the subject polygon that are on the visible side.
Imagine this is the screen
Before clipping:             After clipping:

+------------------+         +---------+
|        /         |         |        /
|       /          |   →     |       /
|      /           |         |      /
+------------------+         +-----/
It walks around the polygon one edge at a time and asks whether each endpoint is inside or outside the area we want to preserve:
Inside → Inside    Keep the edge
Inside → Outside   Keep up to the boundary
Outside → Inside   Keep from the boundary onward
Outside → Outside  Discard the edge
See “inside” as:
distanceToA <= distanceToBtl;dr;
For viewport A, it stars with the entire screen, and then removes everything that is closer to B. Doing the opposite give us B’s polygon.
Generate both cells
local rectangle = {
	{ x = 0, y = 0 },
	{ x = width, y = 0 },
	{ x = width, y = height },
	{ x = 0, y = height },
}

-- A’s polygon keeps everything closer to A:
polygonA = clip(rectangle, a, b)

-- B’s polygon reverses the comparison:
polygonB = clip(rectangle, b, a)
If you need help drawing the polygon, i got you:
local function drawPolygon(polygon, mode)
	if #polygon < 3 then
		return
	end

	local vertices = {}

	for _, p in ipairs(polygon) do
		table.insert(vertices, p.x)
		table.insert(vertices, p.y)
	end

	love.graphics.polygon(mode or "line", vertices)
end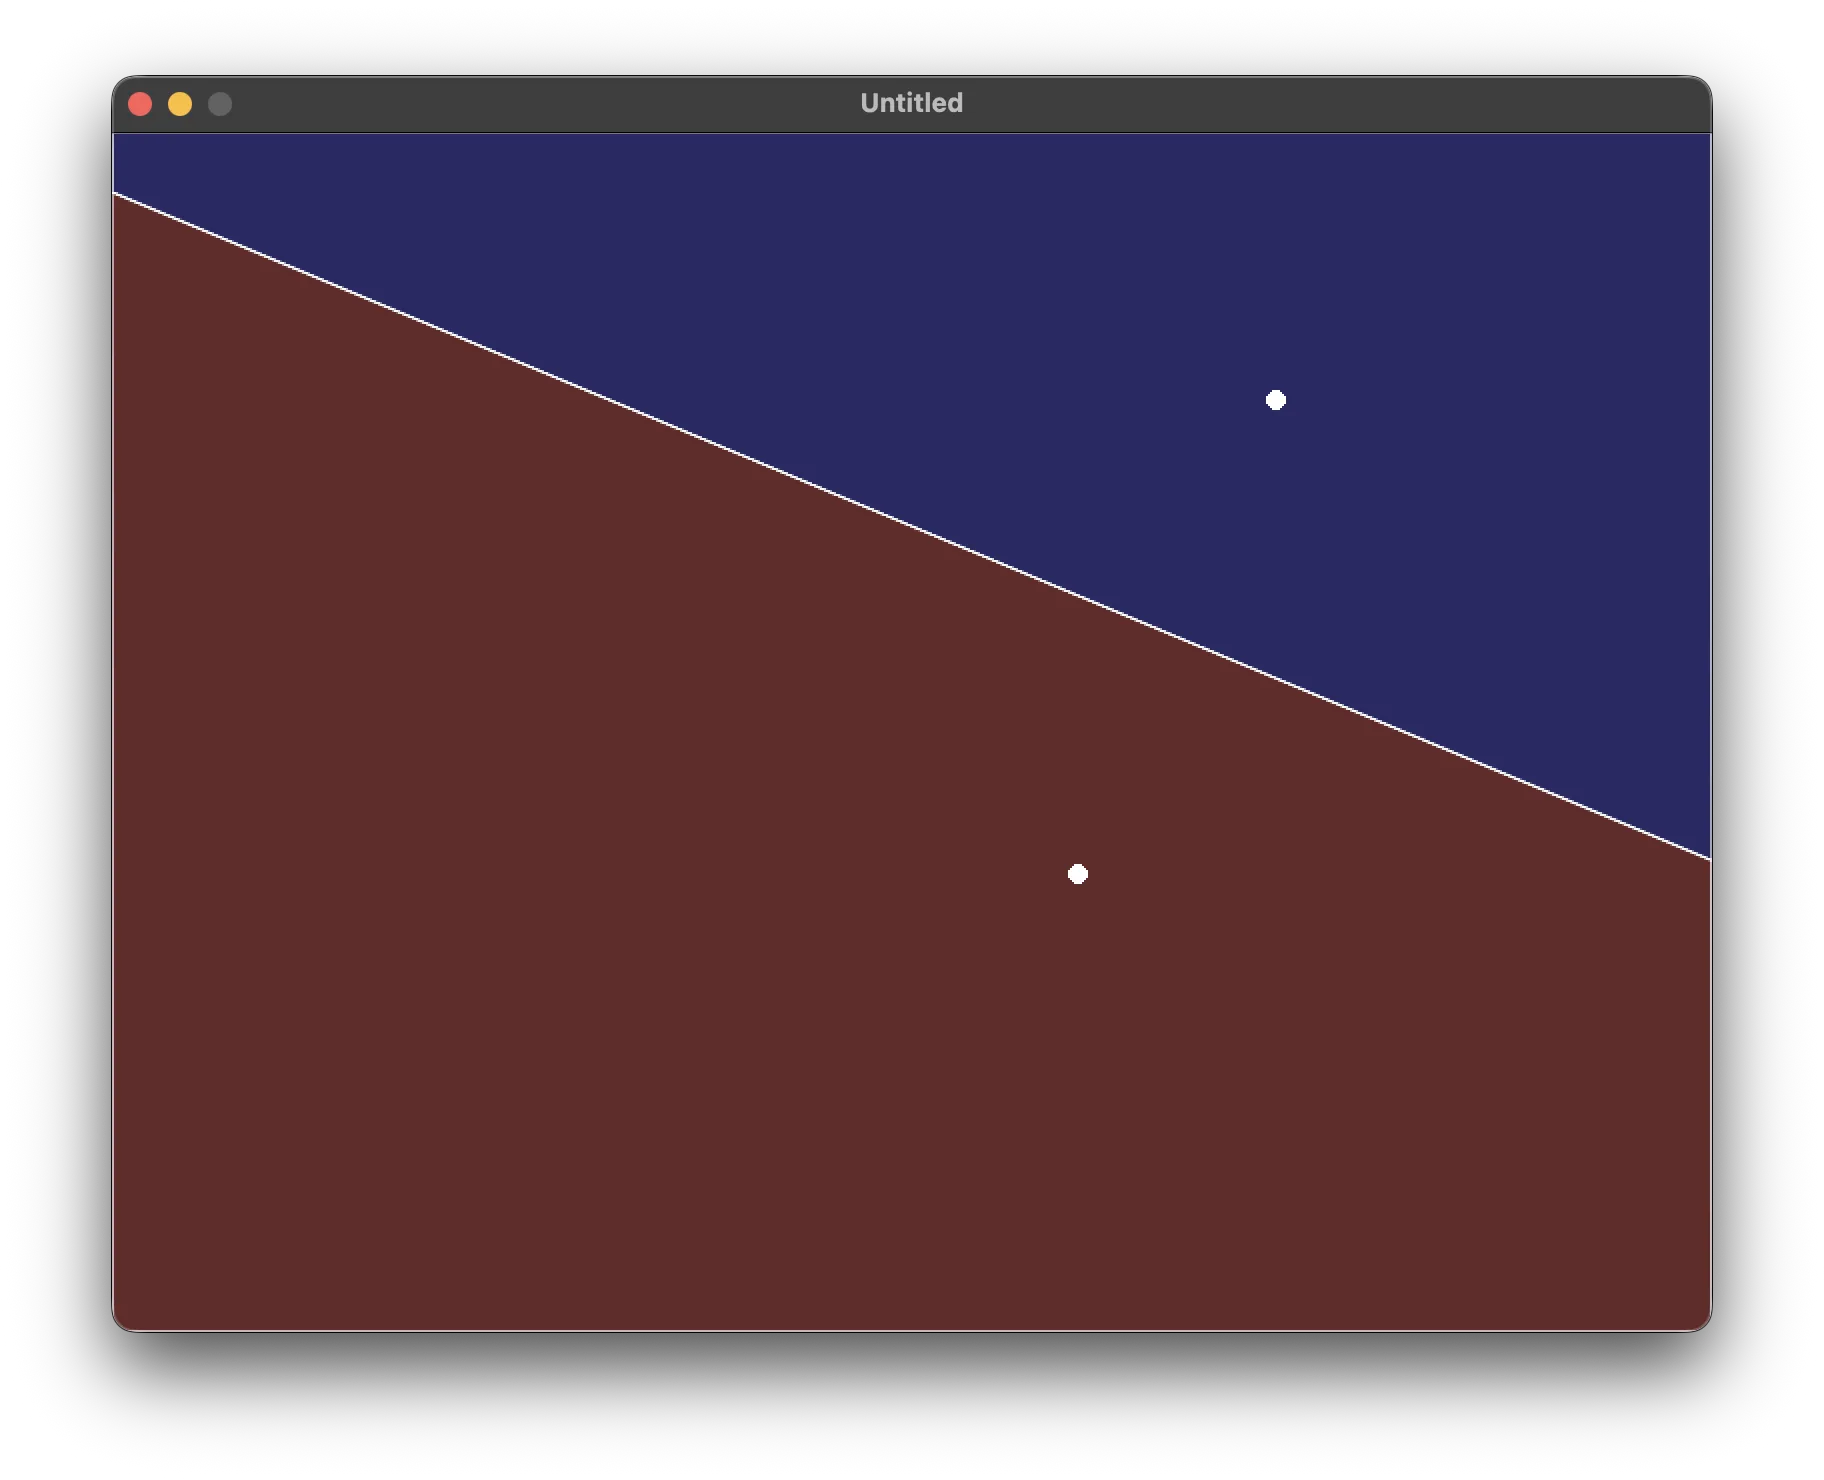
This give us as result a dynamic split screen where the division moves with the player movements. This type of screen is useful for coop games where player are separated in space but they world position can add additional cues to solve puzzles, or let’s be honest, it looks cool enough to maybe use in a gamejam. But it still has the same quirk as our fixed splits: Even when players are near, there are still multiple viewports instead of a shared one.
Shared mode, split mode, and hysteresis
Our goal is simple, if the players are close, then no split screen should be presented, just one camera with both of them there, if they are not close, then the game would enter in split mode and show the two viewports, using the hysteresis? what the heck is that? Tbh this is just a fancy way of naming thresholds. Yes, plural, basically having one for entering a state and one for leaving a state.
distance

0                 220                   300
├──────────────────┼─────────────────────┼──────────>
       merge          keep current state      split
Imagine we have just one threshold,
split = distance > 300Very small movements would cause the instant switch between split mode and shared mode.
distance 299 → shared
distance 301 → split
distance 298 → shared
distance 302 → split
Trust me, not pretty.

With hysteresis:
distance 301 → split
distance 290 → remain split
distance 250 → remain split
distance 219 → merge
distance 250 → remain shared
distance 301 → split
And it’s really easy to implement:
local splitDistance = 300
local mergeDistance = 220
local split = false

local function updateSplitState(a, b)
	local distanceSquared = dist2(a, b)

	if split then
		-- We are already split.
		-- Only merge when the players are closer than 220.
		if distanceSquared < mergeDistance * mergeDistance then
			split = false
		end
	else
		-- We are currently sharing the screen.
		-- Only split when the players are farther than 300.
		if distanceSquared > splitDistance * splitDistance then
			split = true
		end
	end
end
Now, the shared / split behavior. Let’s go with the basic horizontal / vertical examples. So let’s start with the most basic step: Shared mode.
local function drawSharedCamera()
	local width, height = love.graphics.getDimensions()

	local camera = {
		x = (players[1].x + players[2].x) / 2,
		y = (players[1].y + players[2].y) / 2,
	}

	drawViewport(camera, 0, 0, width, height)
end
This is just a single camera where both players are present. Drawing the split screen (vertical/horizontal) is the exact code from above but extracted into it’s own function.
function love.update(dt)
  -- update players positions
  updateSplitState(players[1], players[2]) -- which updates split
end


function love.draw()
	if not split then
		drawSharedCamera()
	elseif splitDirection == "vertical" then
		drawVerticalSplit()
	else
		drawHorizontalSplit()
	end
end

In the case of the dynamic split screen, something similar can be done, where we can reuse the split logic:
polygonA = clip(rectangle, a, b)
polygonB = clip(rectangle, b, a)
And when shared, both players use the complete screen:
polygonA = rectangle
polygonB = rectangle
Resulting in:
Where to go from here
Who would have guessed that wasting time on instagram can sometimes be a productive thing? Not me fore sure. Voronois are fun, before this my main exposure to it was in shader, to be precised, on toon water shaders trying to replicate wind waker ocean. lol
So, everything above handles two players, I had some code for more than 2 players, but I’m not trying to write a book on this post. But basically, for (N) players, start each player’s cell as the full screen and clip it against every other player:
The rendering process stays the same, we just perform more clipping passes. I’ll leave that implementation for another day, but you can see the idea in action in this multi-site Voronoi example on Shadertoy.