Context
In today’s digital world, a strong online presence is useful for professionals in almost every field. A thoughtfully curated portfolio can showcase your skills, accomplishments, and experience to potential employers, clients, and collaborators.
Initially, I hesitated to create one. I didn’t want to build another React app or reach for a comprehensive framework such as Gatsby when both felt excessive for what I needed.
I changed my mind after writing documentation for work projects with Docsify.
What will you need?
All you need is a cup of coffee and a little Markdown. Voilà: a responsive, performant webpage.
Focus on the content first. Docsify keeps the starting point small, but it doesn’t prevent you from adding complexity later when you actually need it.
If Markdown is new to you, keep the Markdown cheat sheet nearby.
Create the project
I lied: we are going to use a few dependencies. Please don’t leave; I can justify them.
Create a folder for the portfolio:
mkdir awesome-portfolio
cd awesome-portfolio
Initialize package.json:
npm initPress Enter to accept each default, or customize the values as you go. Then install the Docsify command-line tool:
npm install --save-dev docsify-cliInitialize the site and start its development server:
npx docsify init .
npx docsify serve .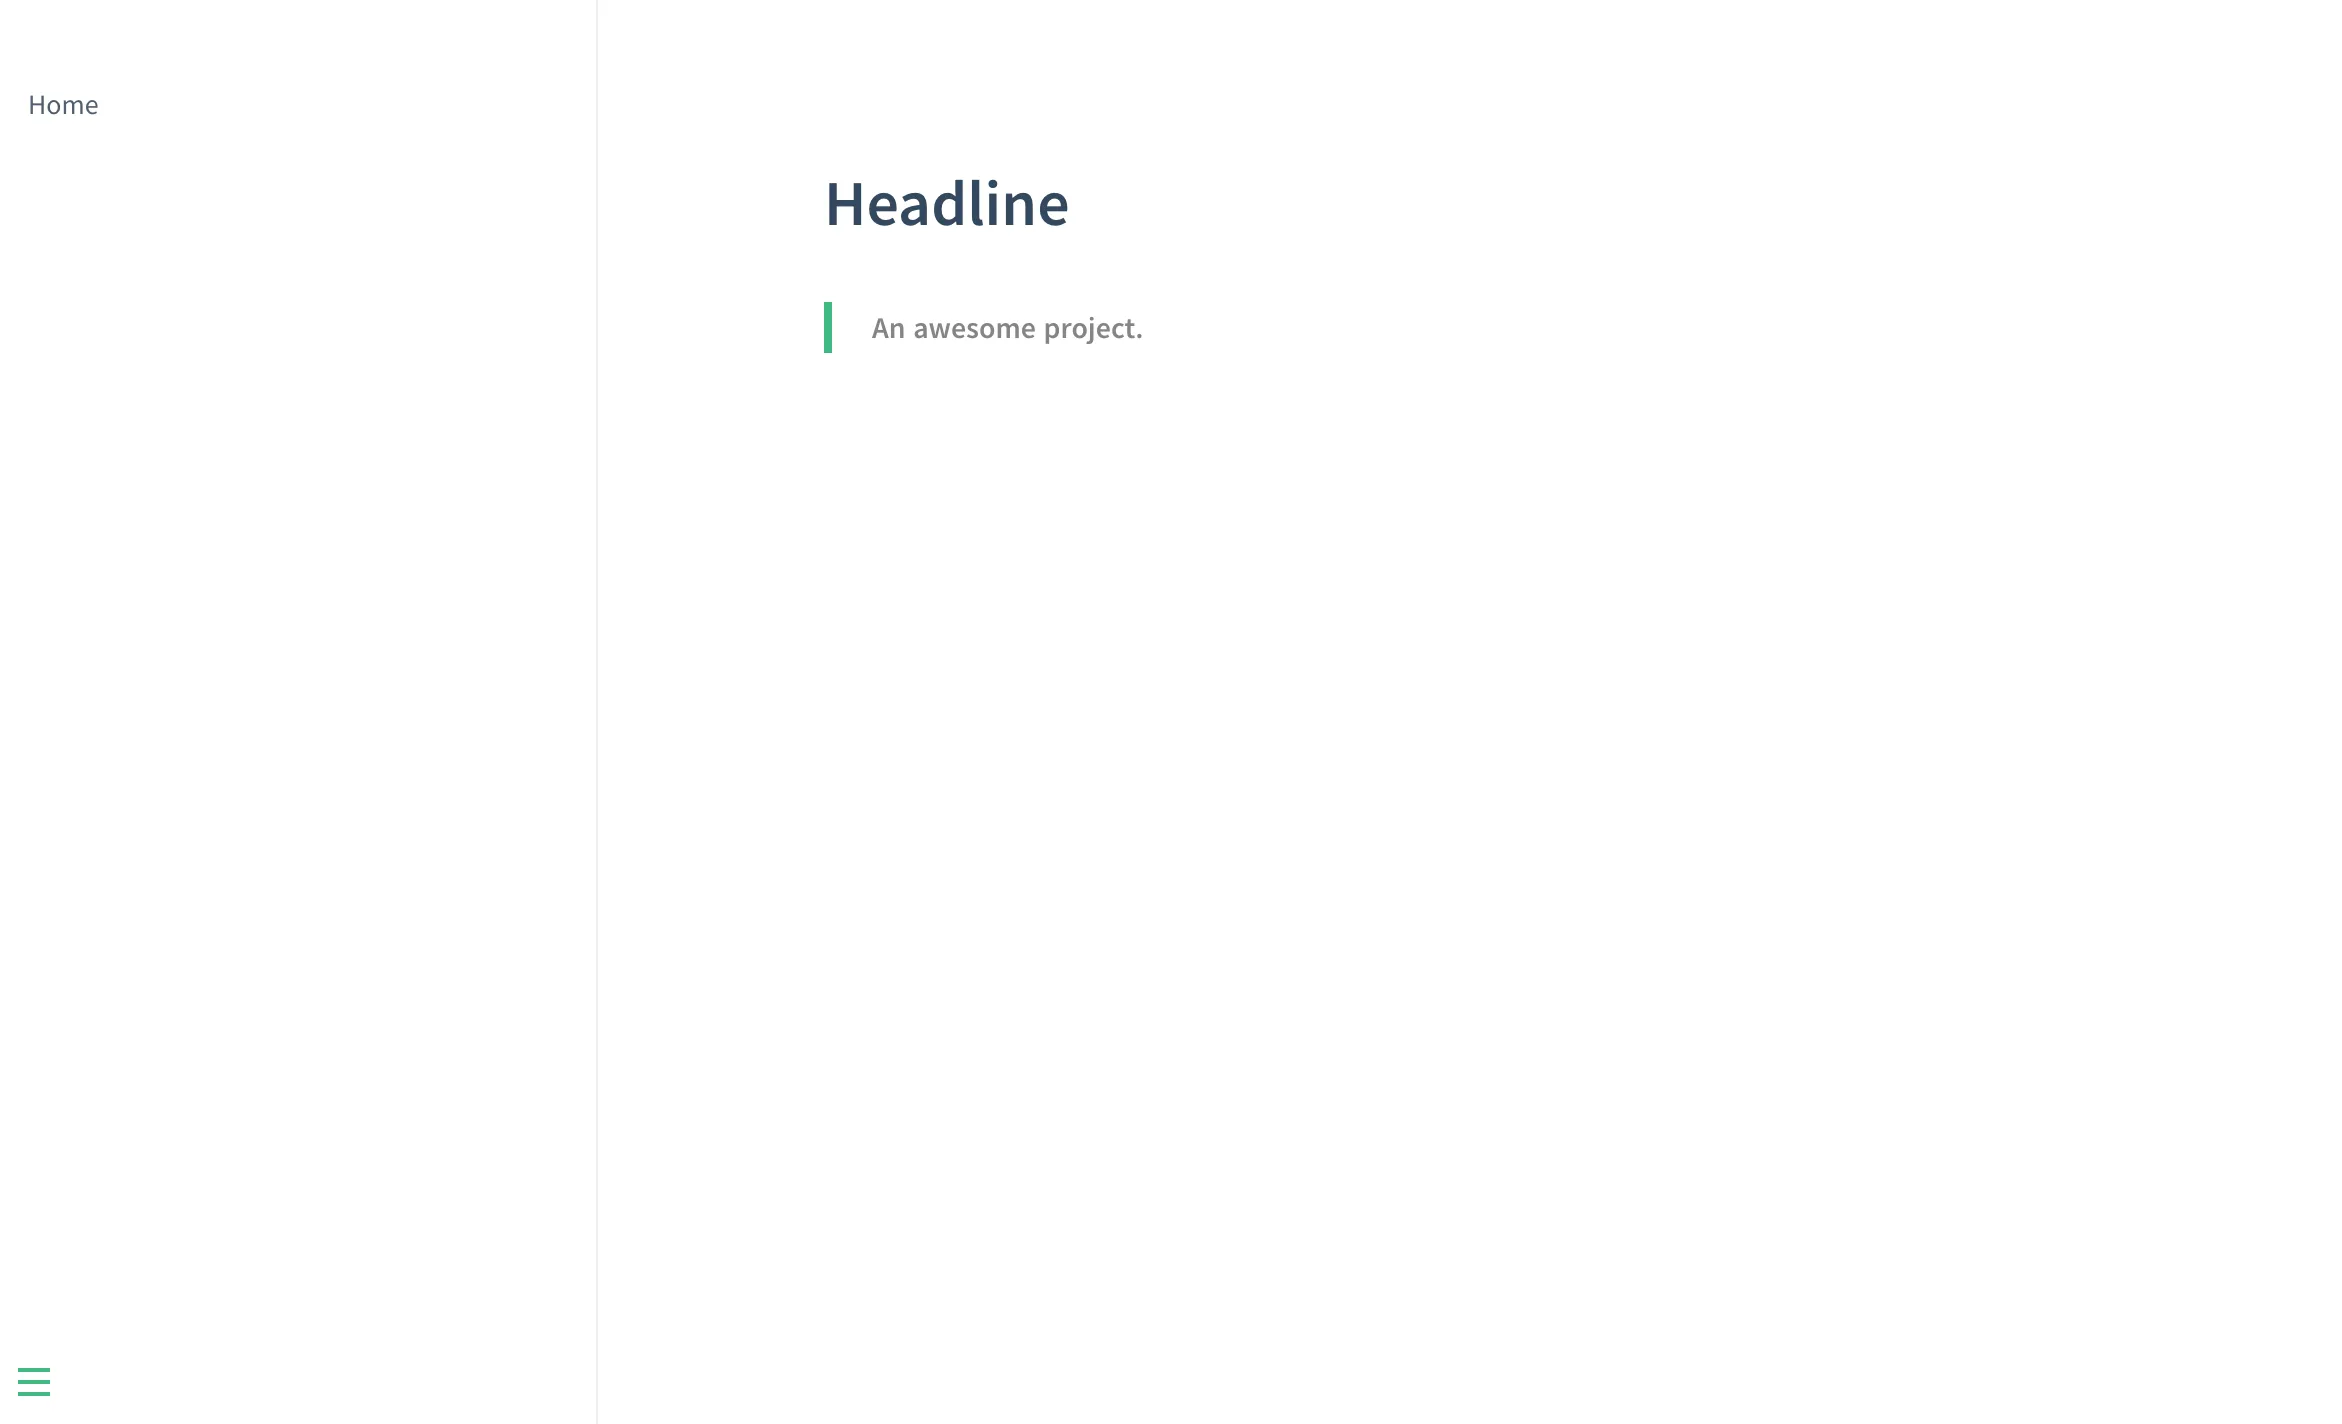
The page content lives in README.md. Before continuing, add a convenient development command to package.json:
{
  "scripts": {
    "start": "docsify serve . --port=3001"
  }
}
From now on, npm run start will serve the site on port 3001.
Level up the site
The first version is intentionally simple. Docsify’s community plugins let us add features by editing index.html rather than rebuilding the project around another framework.
Sidebar
Enable the Docsify sidebar in the configuration:
<script>
  window.$docsify = {
    name: "",
    repo: "",
    loadSidebar: true,
    subMaxLevel: 4,
  }
</script>
Create _sidebar.md:
- [Home](/)Then add a folder for the site’s sections and create the résumé page:
mkdir sections
touch sections/resume.md
Add the new page to _sidebar.md:
- [Home](/)
- [Resume](sections/resume.md)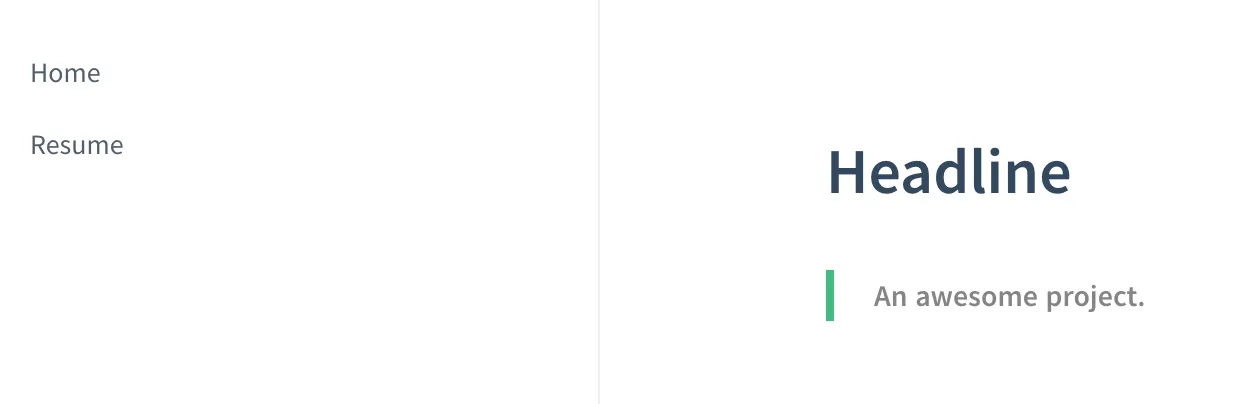
Full-text search
Add Docsify’s full-text search plugin beneath the existing Docsify script:
<script src="//cdn.jsdelivr.net/npm/docsify/lib/plugins/search.min.js"></script>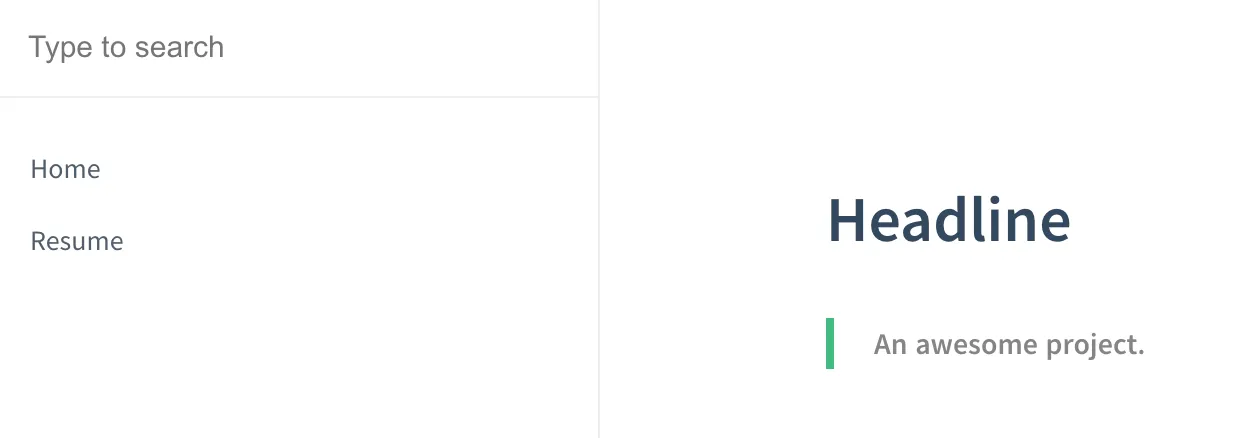
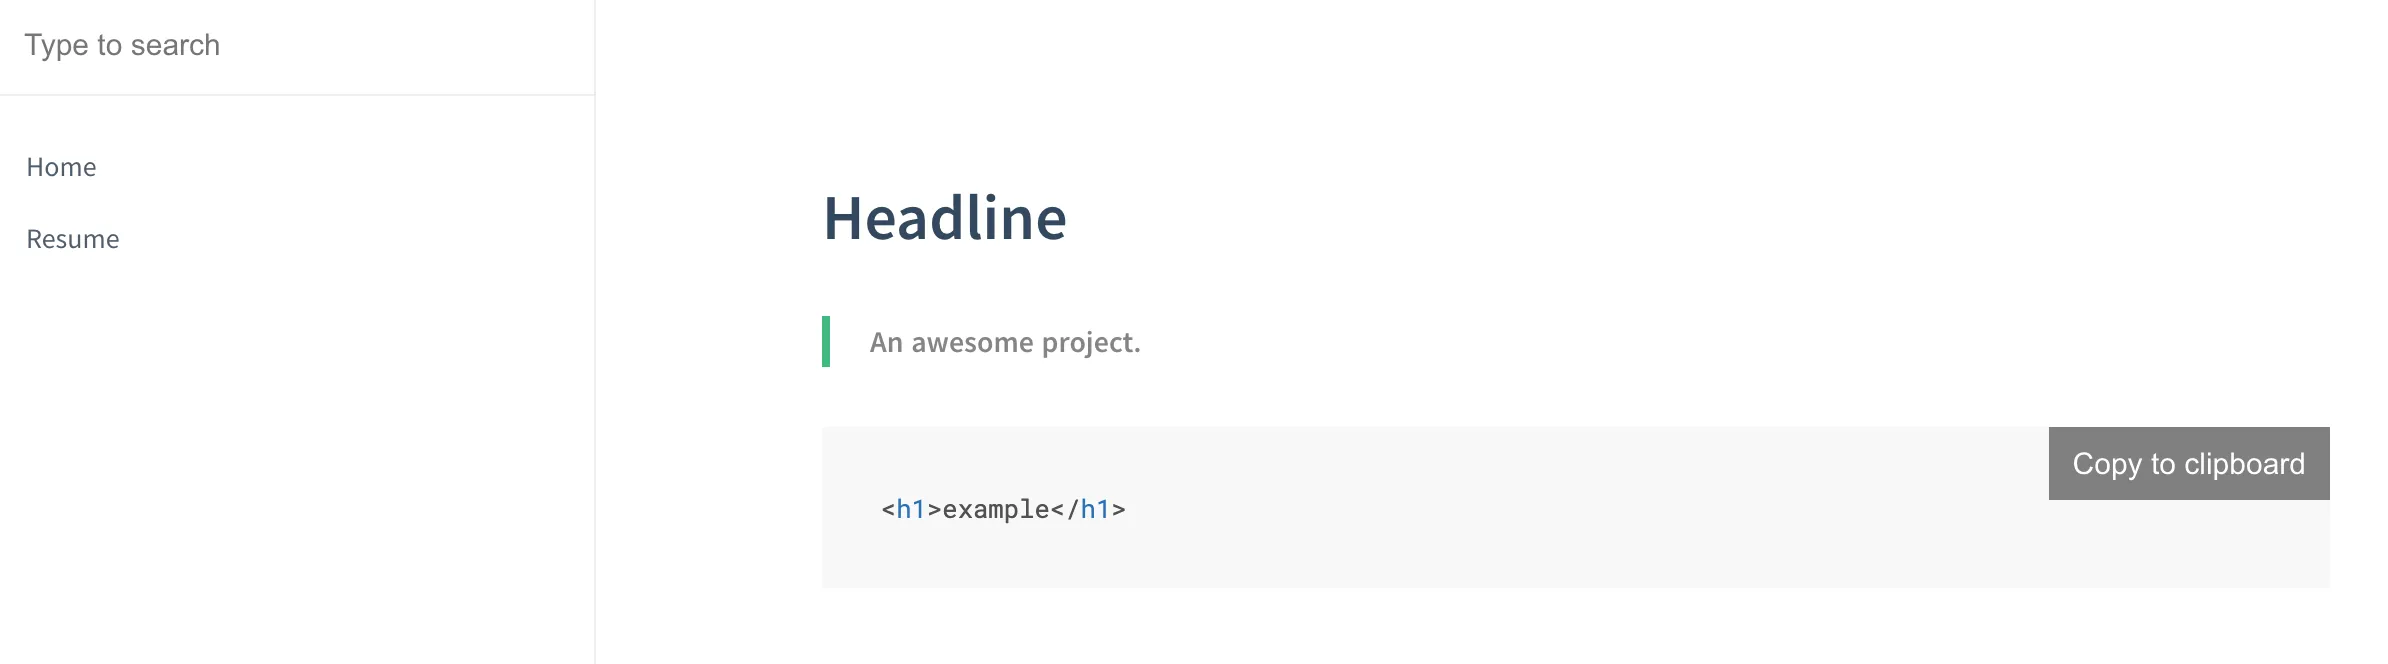
Copy to clipboard
If you include code examples, give readers a quick way to copy them:
<script src="//cdn.jsdelivr.net/npm/docsify-copy-code/dist/docsify-copy-code.min.js"></script>Now fenced code blocks receive a copy button automatically.
Theme
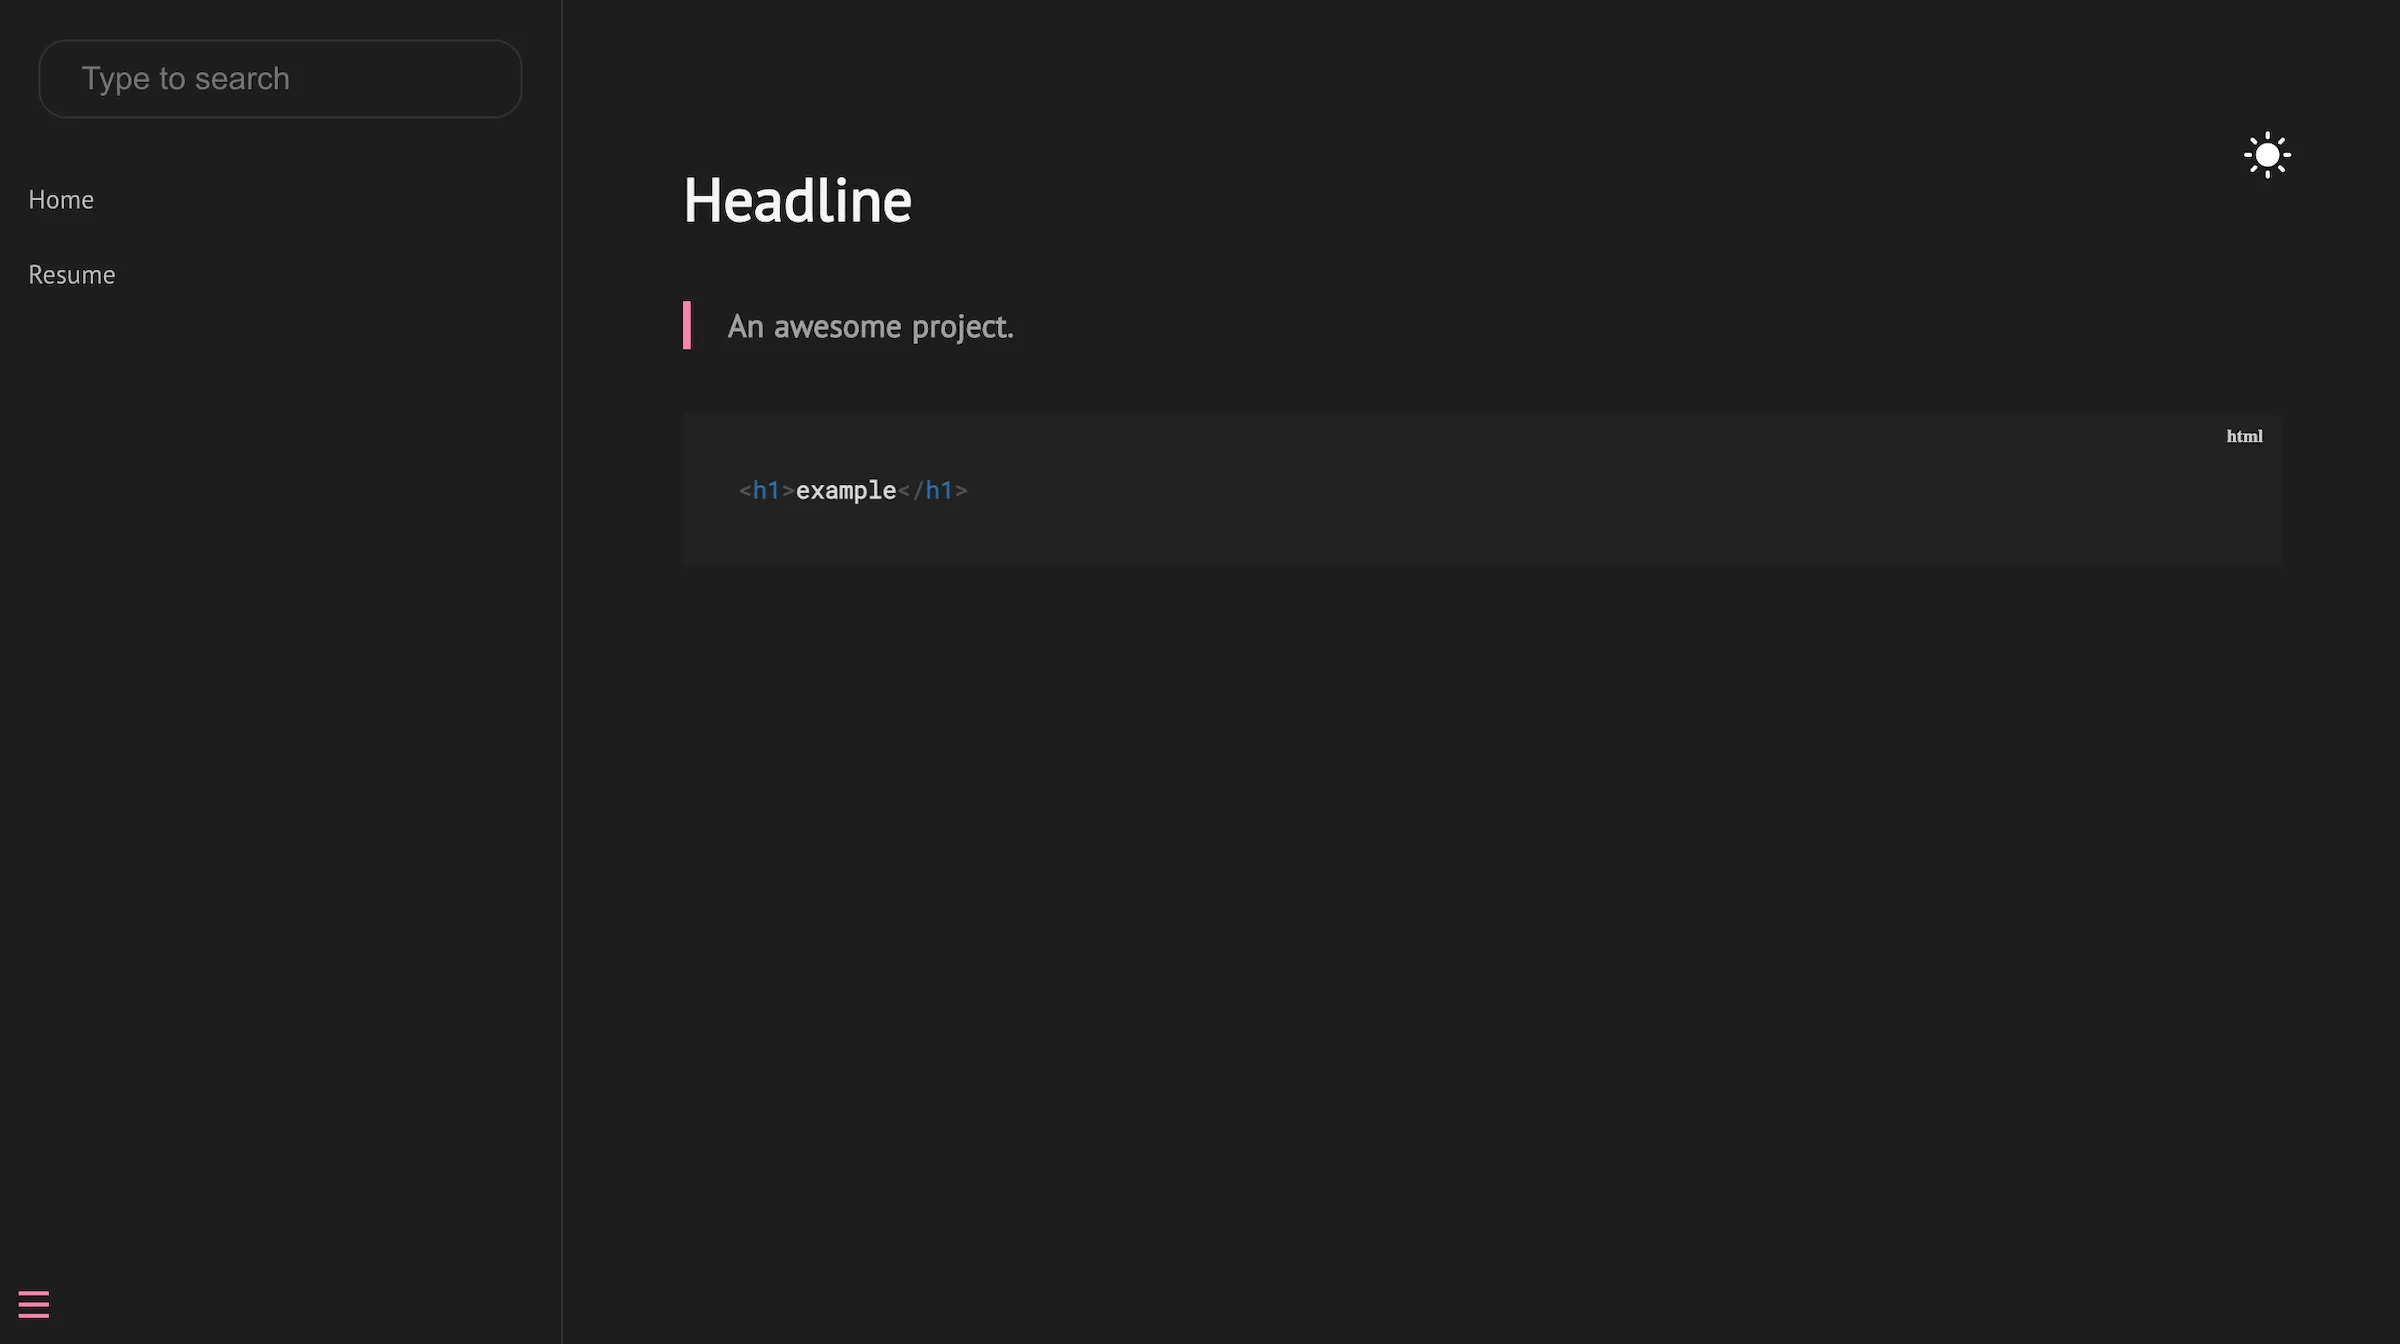
The Docsify Darklight Theme adds theme switching and exposes colors we can customize.
Add the script near the end of index.html:
<script
  src="//cdn.jsdelivr.net/npm/docsify-darklight-theme@latest/dist/index.min.js"
  type="text/javascript"
></script>
Add its stylesheet inside <head>:
<link
  rel="stylesheet"
  href="//cdn.jsdelivr.net/npm/docsify-darklight-theme@latest/dist/style.min.css"
  title="docsify-darklight-theme"
  type="text/css"
/>
The theme can be customized from window.$docsify. This was the pink palette used by the original portfolio:
window.$docsify = {
  name: "",
  repo: "",
  loadSidebar: true,
  darklightTheme: {
    siteFont: "PT Sans",
    defaultTheme: "dark",
    codeFontFamily: "Open Sans",
    bodyFontSize: "17px",
    dark: {
      accent: "#FF80AB",
      background: "#1E1E1E",
      textColor: "#F5F5F5",
      codeBackgroundColor: "#222222",
      borderColor: "#333333",
    },
    light: {
      accent: "#FF80AB",
      background: "#F5F5F5",
      textColor: "#333333",
      codeBackgroundColor: "#F0F0F0",
      borderColor: "#CCCCCC",
    },
  },
}
Add the actual content
The framework is ready. Now we need résumé, project, and blog content.
Résumé
Write your experience directly in sections/resume.md. A Markdown résumé template can help with the first draft, but replace every placeholder with your own information.
Portfolio
Create folders for project pages and the portfolio index:
mkdir portfolio
touch sections/portfolio.md
touch portfolio/project-1.md
Add both levels to _sidebar.md:
- [Home](/)
- [Resume](sections/resume.md)
- [Portfolio](sections/portfolio.md)
  - [Project 1](portfolio/project-1.md)
A repeatable project outline keeps each entry useful:
# Project title

## Technologies used

## Purpose

## Source code

## Demo

## Screenshots

## Code examples

## Additional information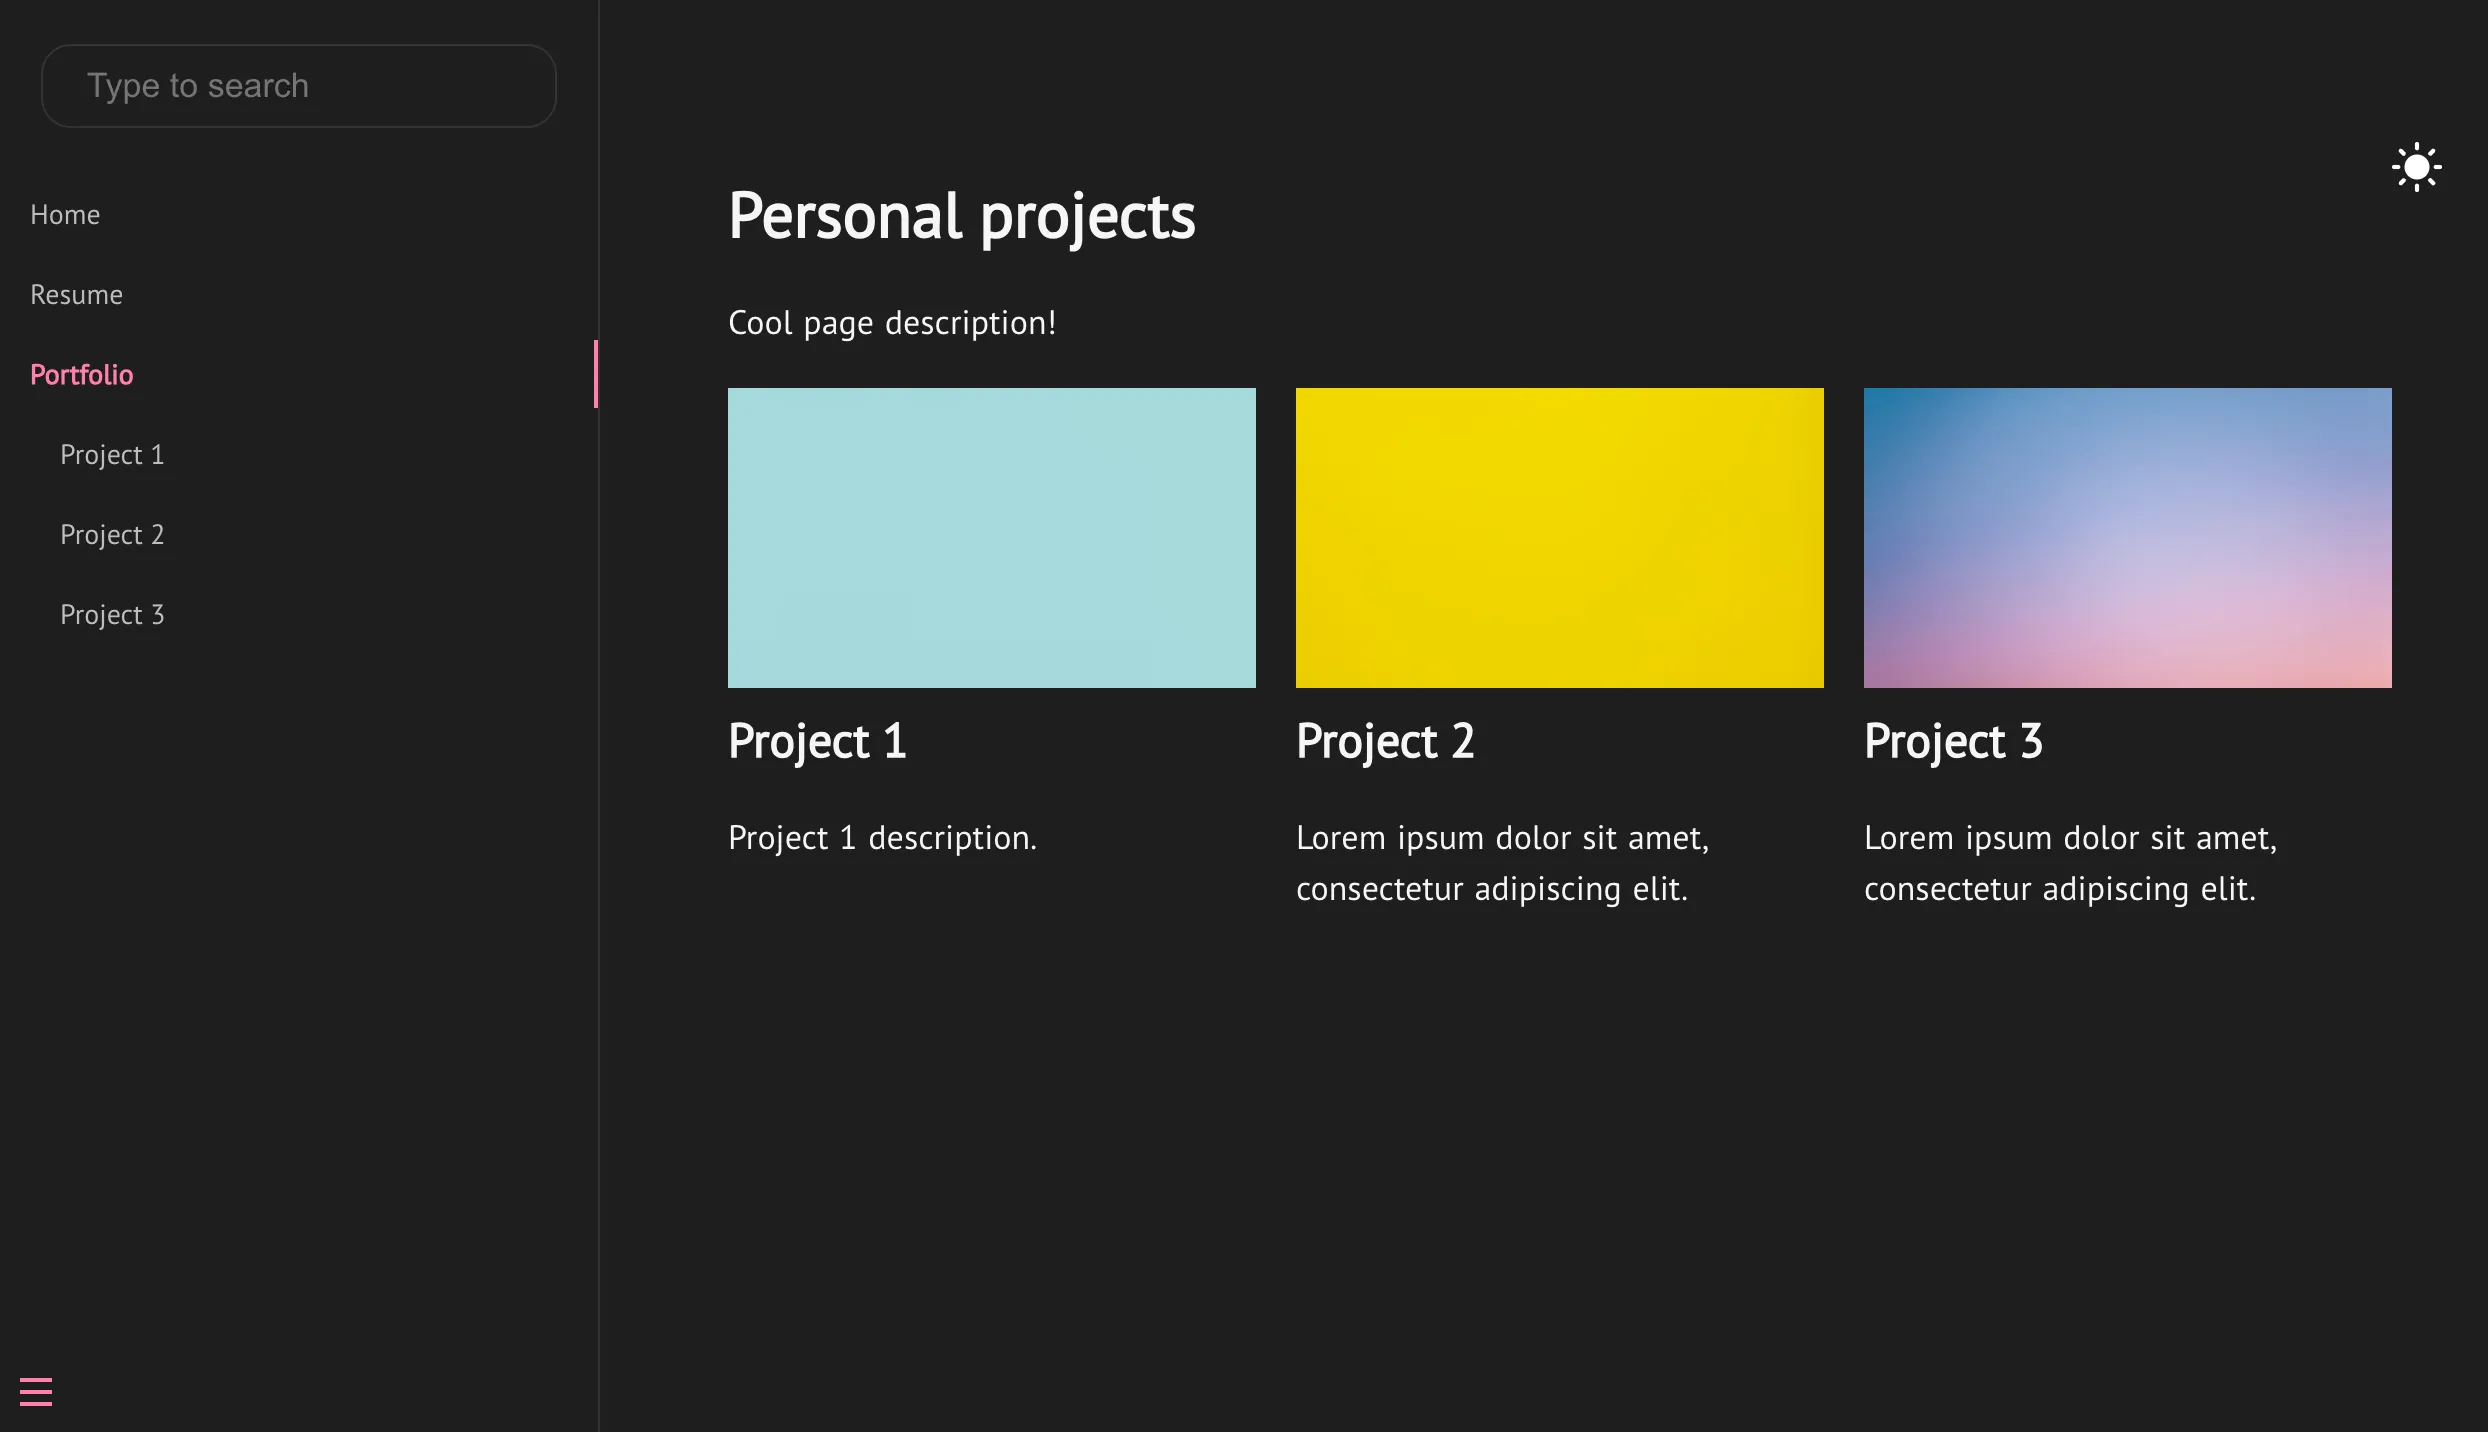
Blog
Create a blogs folder. I organized each post by date and slug, keeping its media beside the Markdown file:
blogs/
└── 2023-07-06/
    └── how-to-create-a-blog/
        ├── assets/
        │   └── cover.png
        └── post.md
Create the blog index and add it to the sidebar:
mkdir blogs
touch sections/blog.md
- [Home](/)
- [Resume](sections/resume.md)
- [Portfolio](sections/portfolio.md)
- [Blog](sections/blog.md)A tiny content generator
You could stop here and continue by copying existing files whenever you need a new page. I wouldn’t blame you. But generating those repeated files from templates can save time, and became the most interesting part of this experiment.
Install Plop:
npm install --save-dev plopThe generator eventually grew into this structure:
generators/
├── helpers.js
├── plopfile.js
├── section.js
├── portfolio.js
├── blog.js
└── templates/
    ├── sections/
    ├── portfolio/
    ├── blogs/
    └── variables/
The central plopfile.js registered a generator for each content type:
const sectionGenerator = require("./section.js")
const portfolioGenerator = require("./portfolio.js")
const blogGenerator = require("./blog.js")
const helpers = require("./helpers")

module.exports = (plop) => {
  plop.setHelper("capitalize", helpers.capitalize)
  plop.setHelper("lowercase", helpers.lowercase)

  plop.setGenerator("section", sectionGenerator)
  plop.setGenerator("portfolio", portfolioGenerator)
  plop.setGenerator("blog", blogGenerator)
}
Comments such as <!-- Insert new section here --> gave the generators a predictable place to insert navigation items.
Add a command to package.json:
{
  "scripts": {
    "file:generate": "plop --plopfile generators/plopfile.js"
  }
}
Running npm run file:generate could now create a section and update the sidebar in one step.
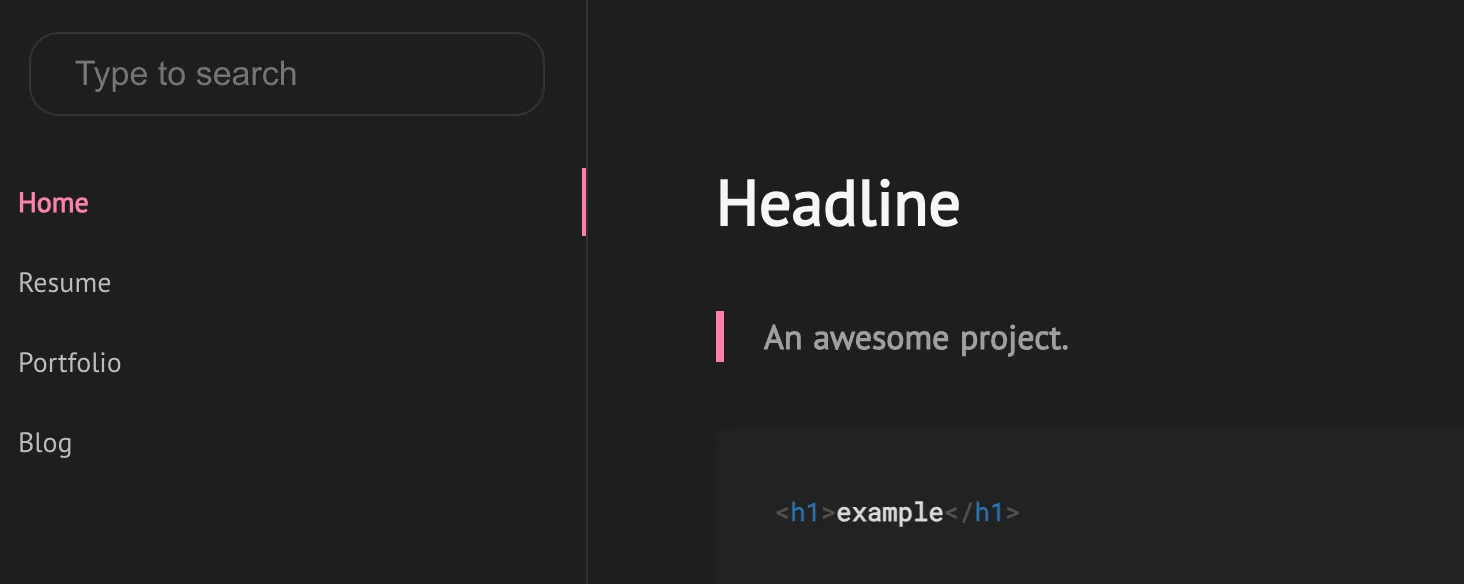
The portfolio generator created a project Markdown file, added its card to the portfolio index, and added a nested sidebar link. The blog generator did the same for dated post folders, cover assets, the blog index, and the latest-post area.
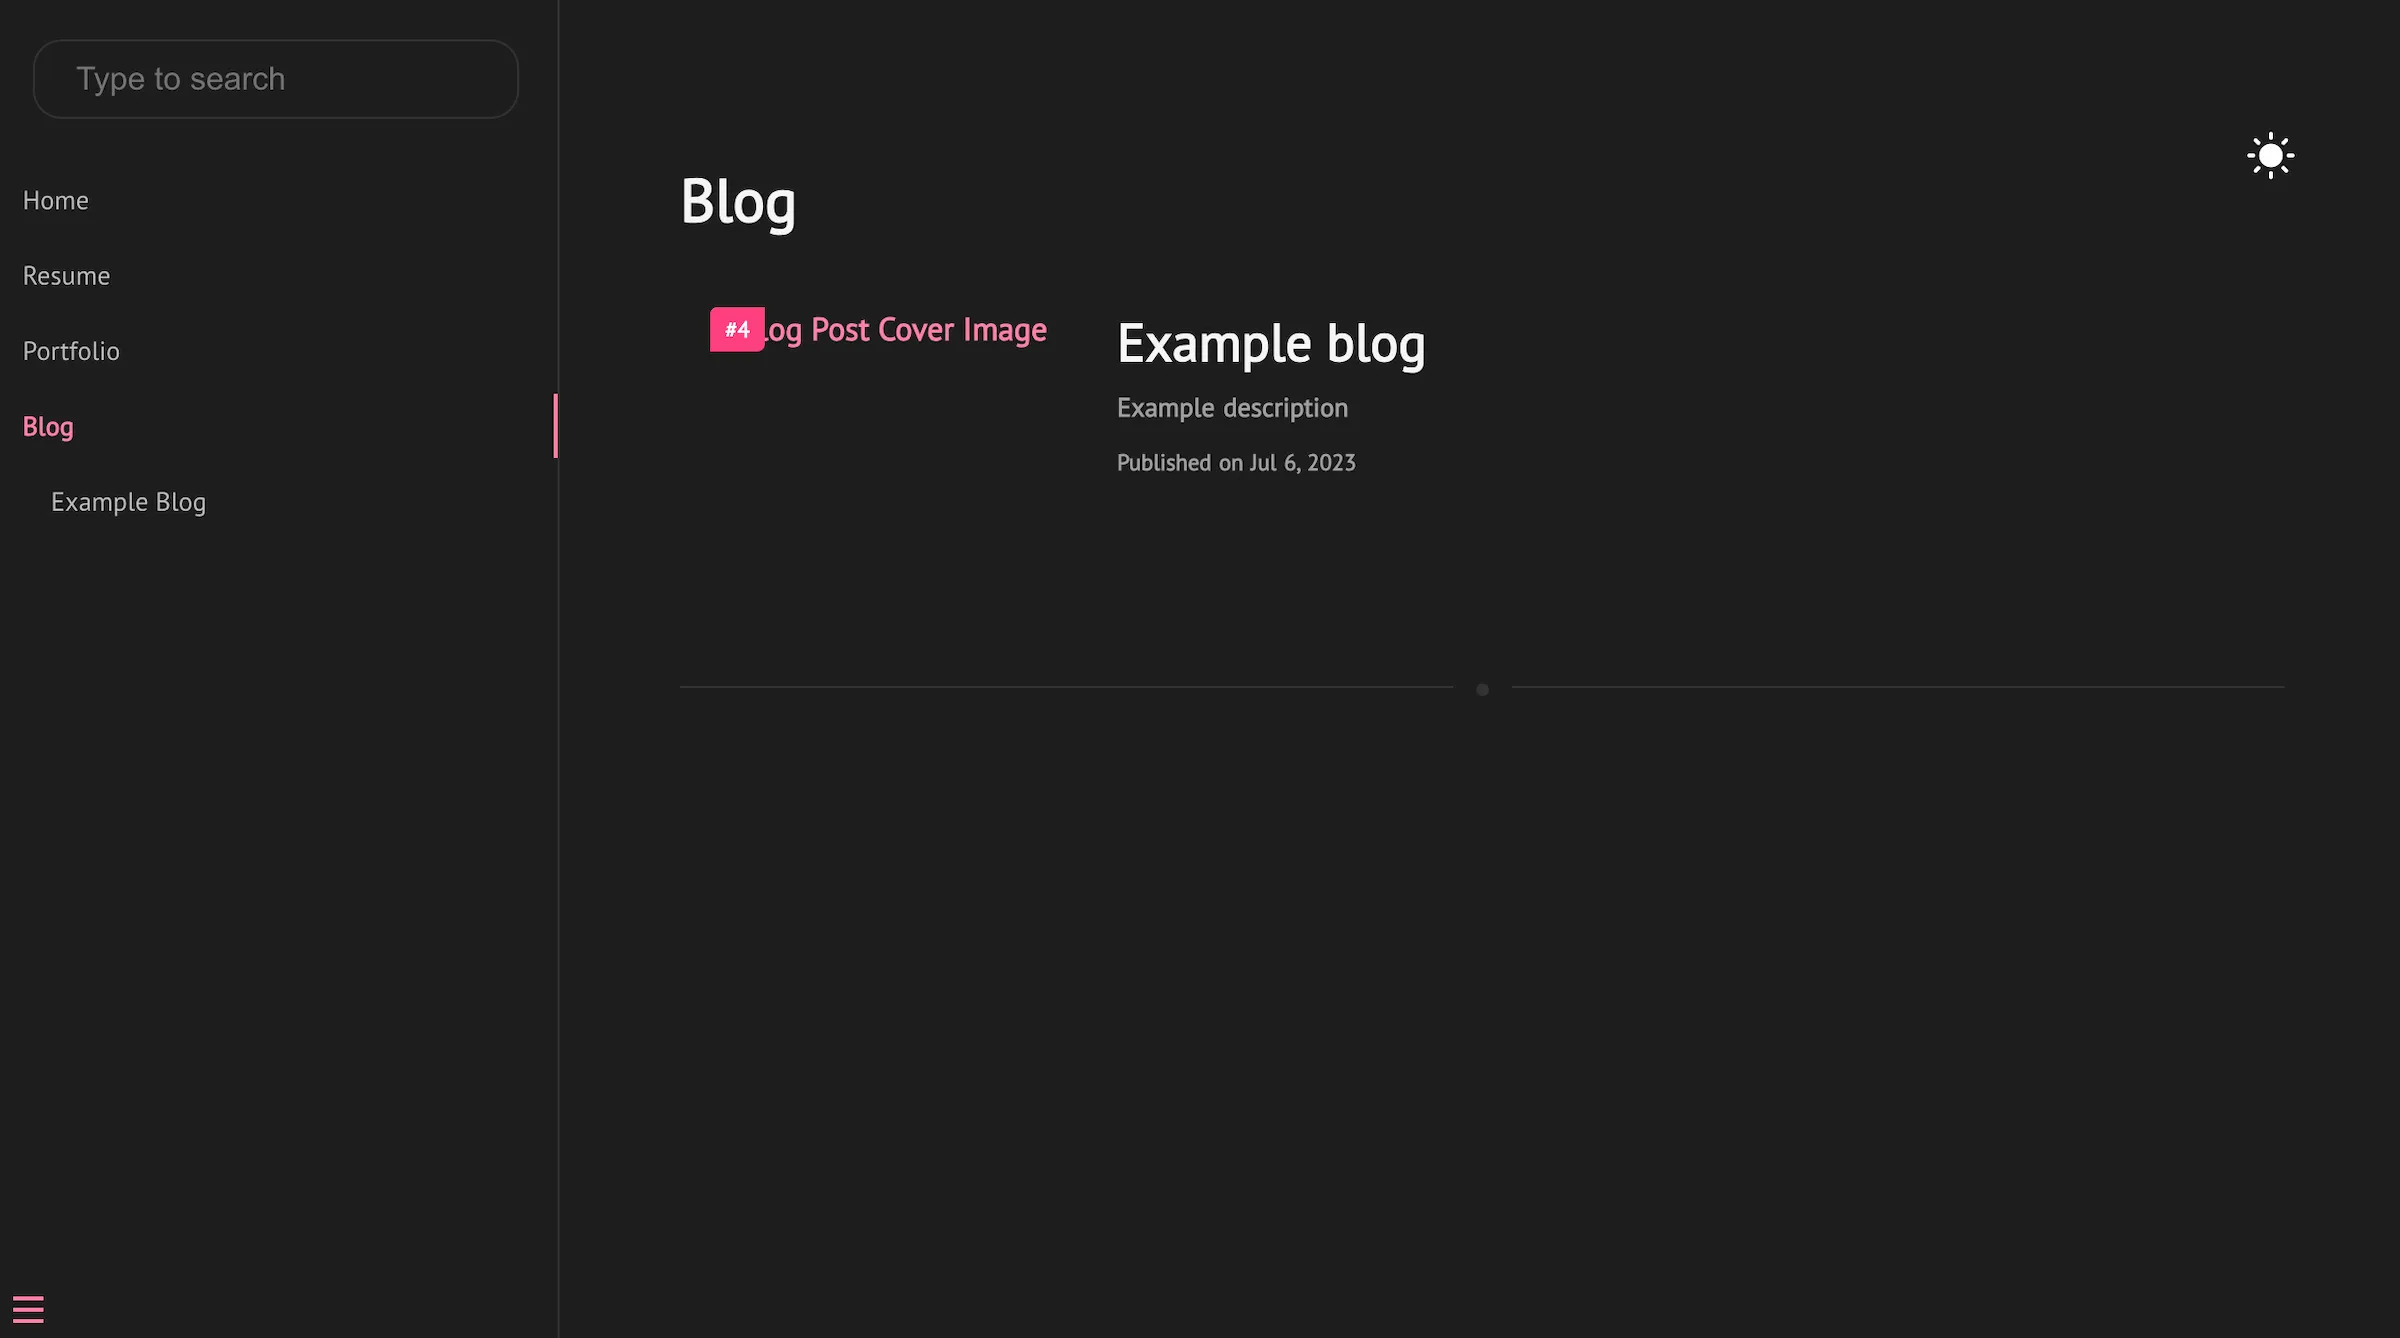
The original generator source files are not part of this archive, but the experiment continued in Old Website, Part 1.
Next: publish the portfolio with GitHub Pages, then add end-to-end tests with Cypress.
Cover photograph by Hal Gatewood.